Easy Tumbling Blocks
No "y" seams!
This tutorial has been featured on the Craftsy Blog!
Links for the Complete Tutorial my be found by Here
Fabric Selection and Cutting
No "y" seams!
This tutorial has been featured on the Craftsy Blog!
Links for the Complete Tutorial my be found by Here
Fabric Selection and Cutting
When making this pattern it is important to choose 3 fabrics with good contrast in terms of value. Value refers to the lightness or darkness of a fabric. When deciding on fabric, first choose one dark fabric ... and then one light fabric ... then select medium fabric that has a value about halfway between the two. To make the 3 dimensional illusion of the blocks "pop" you want good contrast between your fabrics. It may be monochromatic, as in three fabric in the same color family, or three different colors. The color wheel is a good place o start when choosing colors.

To test this method, I am making a table topper for Christmas, with some fabrics that have been in my stash for some time.
It will finish abut 25" square.

I chose red, green and black Christmas fabrics in my stash of which I had about one yard pieces to make my table topper.
Cutting instructions are for 3 inch finished diamonds:
For the blocks ...
Light ... cut two 4 inch strips WOF (width of fabric)
Medium and Dark ... cut two 3.5 inch strips WOF
I also used one 4 inch strip of fabric in a different dark green/black print for the setting triangles and will be using strips of the same fabric for borders.
Cutting the blocks :
To cut the diamonds and triangles needed for this method you will need only regular straight cutting rulers, rotary cutter and mat.

If you have never cut a 60 degree angle before, study you ruler and mat and find the 60 degree lines on each.
It does not matter what type of mat you have ...

Cut a test 60 degree diamond and triangle from scrap fabric. These were cut from a 2.5" strip ...

Without moving the fabric, turn your ruler 180 degrees and lay the ruler on the edge of the fabric to cut a 2.5" diamond

You should be able to see the diamond shape through your ruler.
If you like what you seem cut. You should now have a diamond with equal sides and a 60 degree angle on the long ends and a 120 degree angle on the wide ends.
[Note : These pictures were rotated automatically by the blog program and it is not letting me rotate them properly. Sorry about that.]
Now to test cut an equilateral triangle, equal sides and three 60 degree angles ...

Turn your fabric strip so the cut edge is on a line on your mat and your ruler so it is on the 60 degree line on your mat. If you look closely, you will also see the 60 degree line on my ruler. Cut the triangle.
These are the two basic cutting units for making these Easy Tumbling Blocks.
When you are confidant about cutting the shapes, you are ready to start you Tumbling Blocks.

light and dark strips
Cut your WOF strips from your medium and dark fabrics for your blocks. I stacked my medium and dark fabrics together for easier cutting.

light strips

Cut equilateral triangles from your light strips.
To do this I first cut 4" diamonds ...

and then cut them in half, as I did with the light fabric for my blocks

OR
Cut equilateral triangles from your strips, as I did for the setting triangles for my quilt

setting triangles

Lay out your diamonds and triangles on your table or a design wall
I just laid my pieces out on the table near my machine, but a piece of flannel or batting or a flannel backed plastic table cover makes a good surface on your table if you do not have a design wall, as the fabrics will stick to the flannel.

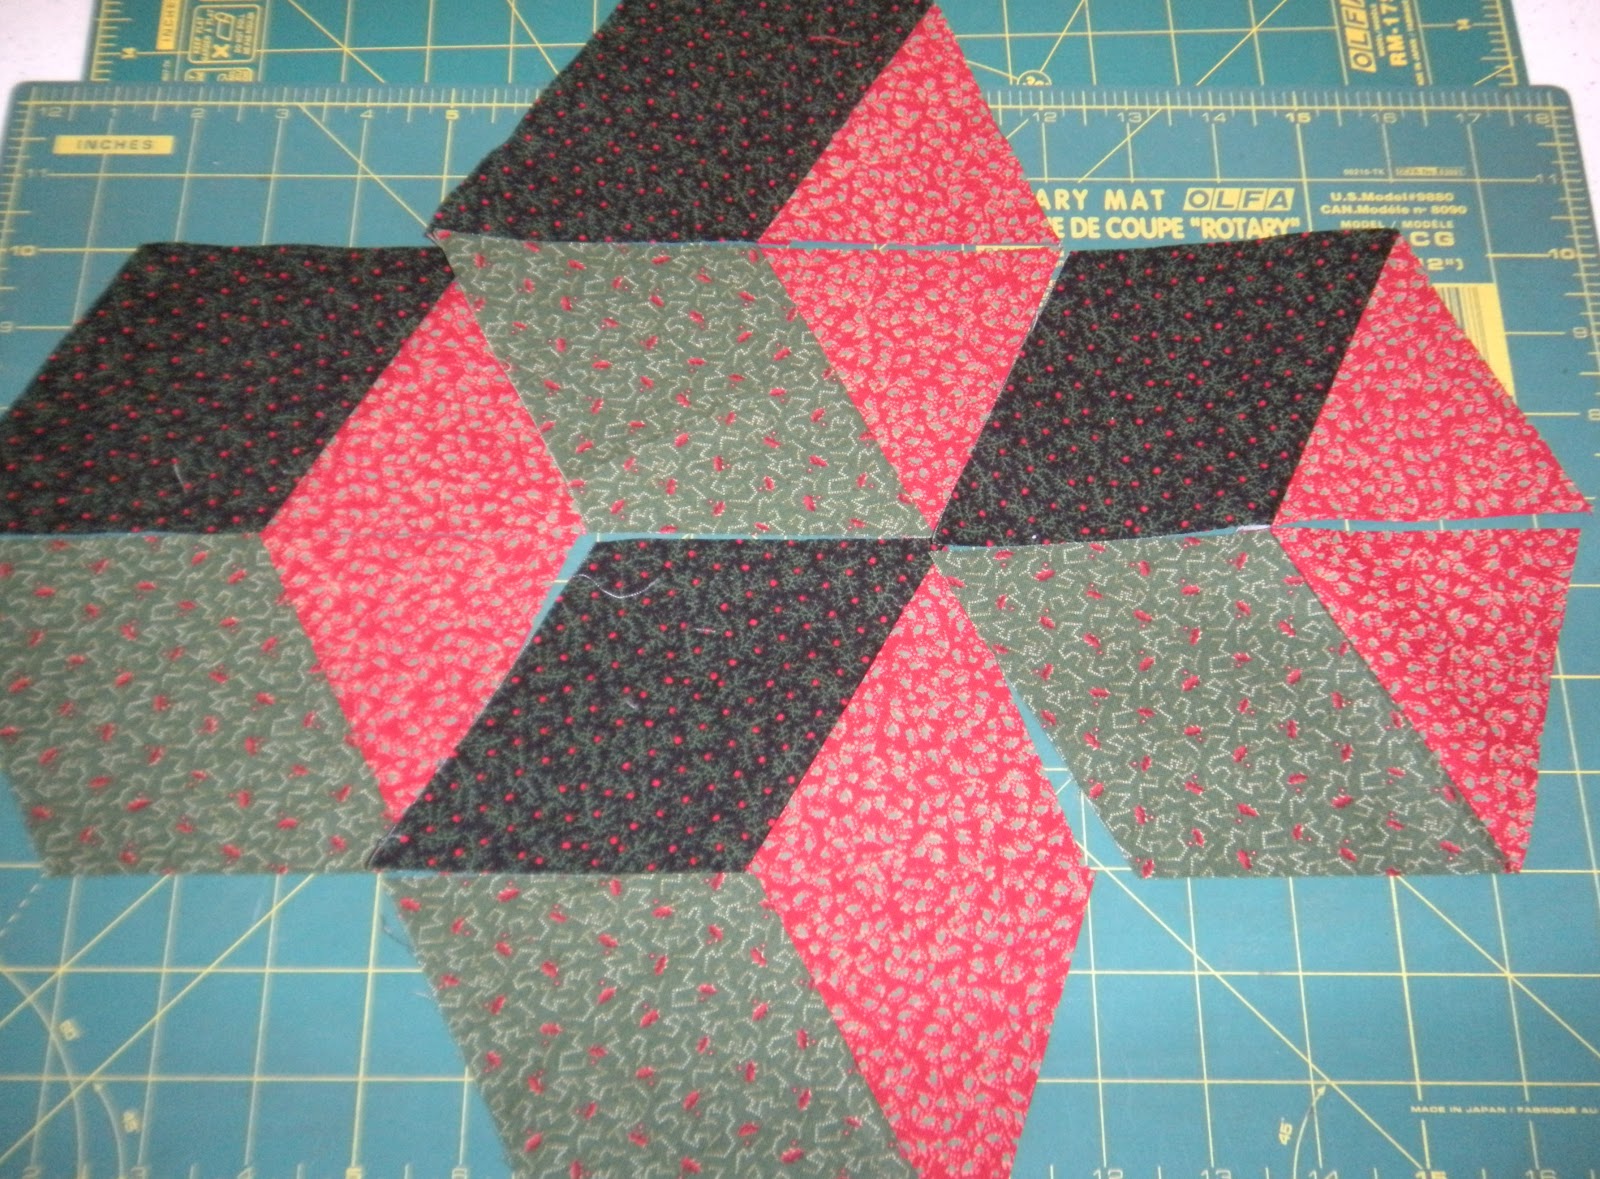
block layout with different border fabric for the setting triangles

three fabric layout
:)
Excellent tutorial!!!
ReplyDeleteHave a great day.
Always, Queenie
Thank you so much for taking so much time to explain this in layman terms that I can understand. I am so slow at it but I am still trying as I can find the time.
ReplyDeleteQueenie ... thanks! :)
ReplyDeleteKathy ... I am a layman. You are not slow. Your Carpenter Star looks great and no one would think it was your first lap quilt if you did not tell them. Just take it one stitch at a time when you have a few minutes to sew ... ;)
This looks like a fabulous tutorial, I will be pencilling this in for the New Year, thx! : )
ReplyDeleteOla, maravilhoso tutorial, vou tentar fazer já estou te seguindo
ReplyDelete