Scallop Quilt Binding Tutorial
I have my own method for cutting and sewing a scallop binding for a quilt.
I have been using this method for many years for curved bindings.
Show Your Stripes Blog Hop Quilt
This is an advanced scalloped binding as it has points on the corners.
If you have never done a curved binding you may want to start as I did,
with a small project, like these
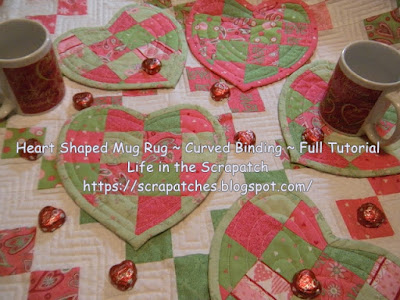
Heart Shaped Mug Rugs ~ Tutorial Here
I cut my binding strips on the width of fabric and I have never had any difficulty easing the curves.
For a tutorial that shows how I cut, sew and press my bindings, Click Here.
Many quilters prefer to cut binding strips on the bias for a curved binding.
Every quilter should always follow their own quilty muse.
I used my Quick Curve Ruler to cut my scallops.
To determine how many scallops I would have on each side
I subtracted 4" for the depth of the curve and divided my 11"
which is the length of the curve on this ruler.
This determined that I would have 5 scallops per size with about 4" extra.
The extra inches will form the points on the corners.
To mark my scallops, I start in the middle of each side.
I turned the ruler and used a pencil to mark the center.
The pencil marks will not be visible, but they could be erased.
You may use a Frixon pen or whatever marking tool you prefer.
Then I marked the outer point of each scallop.
I did not draw lines for the curves.
Then I moved the ruler outward on each side of center and marked each scallop.
I marked all sides before I cut.
off the edge of my trimmed quilt.
You can see in this photo that my ruler is squarely on the corner.
For the points, I did lightly pencil the curve off the edge of the quilt,
but this is not necessary as long as your ruler is held steady and straight.
I made sure my ruler was aligned with the marked dots and held it steady
and used my rotary cutter for the curve.
I have found I need to use a pair of sharp fabric scissors to make a clean cut
from each direction where the curves meet.
You can see a very small miss cut in this point where I Moved my ruler slightly,
This will not matter as it will be covered by the binding strips.
Here is my cut scallops before sewing the binding.


I love scalloped bindings- so pretty! I’m a bit confused though....you do not cut on width of fabric or use bias strips?? I do not like bias strips on pointy corners,prefer my width of fabric cuts. They look lumpy to me when I use bias........ thanks for sharing.
ReplyDeleteGood morning, Pat! Excellent tutorial for the whole process. I've never made anything with a scalloped edge, and I can't help but ask myself why not?! I'm going to PIN this so that when I do (finally) made something with a scallop, I can try your technique. I love the beeswax tip, too. ~smile~ Roseanne
ReplyDeleteP.S. Do you follow Kathleen McMusing? She has a Tips and Tricks linkup each month that you should add this post to. {{Hugs}}