
My favorite way to quilt is free styling with my darning foot or straight line with my walking foot, but occasionally I want to try a new motif that I need to work on how to FMQ. So I make a template using freezer paper for this purpose. I also sometimes make a freezer paper template to fit a border or specific space.
I did both of these for this fall quilt that I made last September.
Here is how I did this:

I made my own freezer paper stencils sized for my quilt.
I drew the design on the paper side and pressed the plastic coated side to my quilt with a warm iron to hold them in place for quilting.

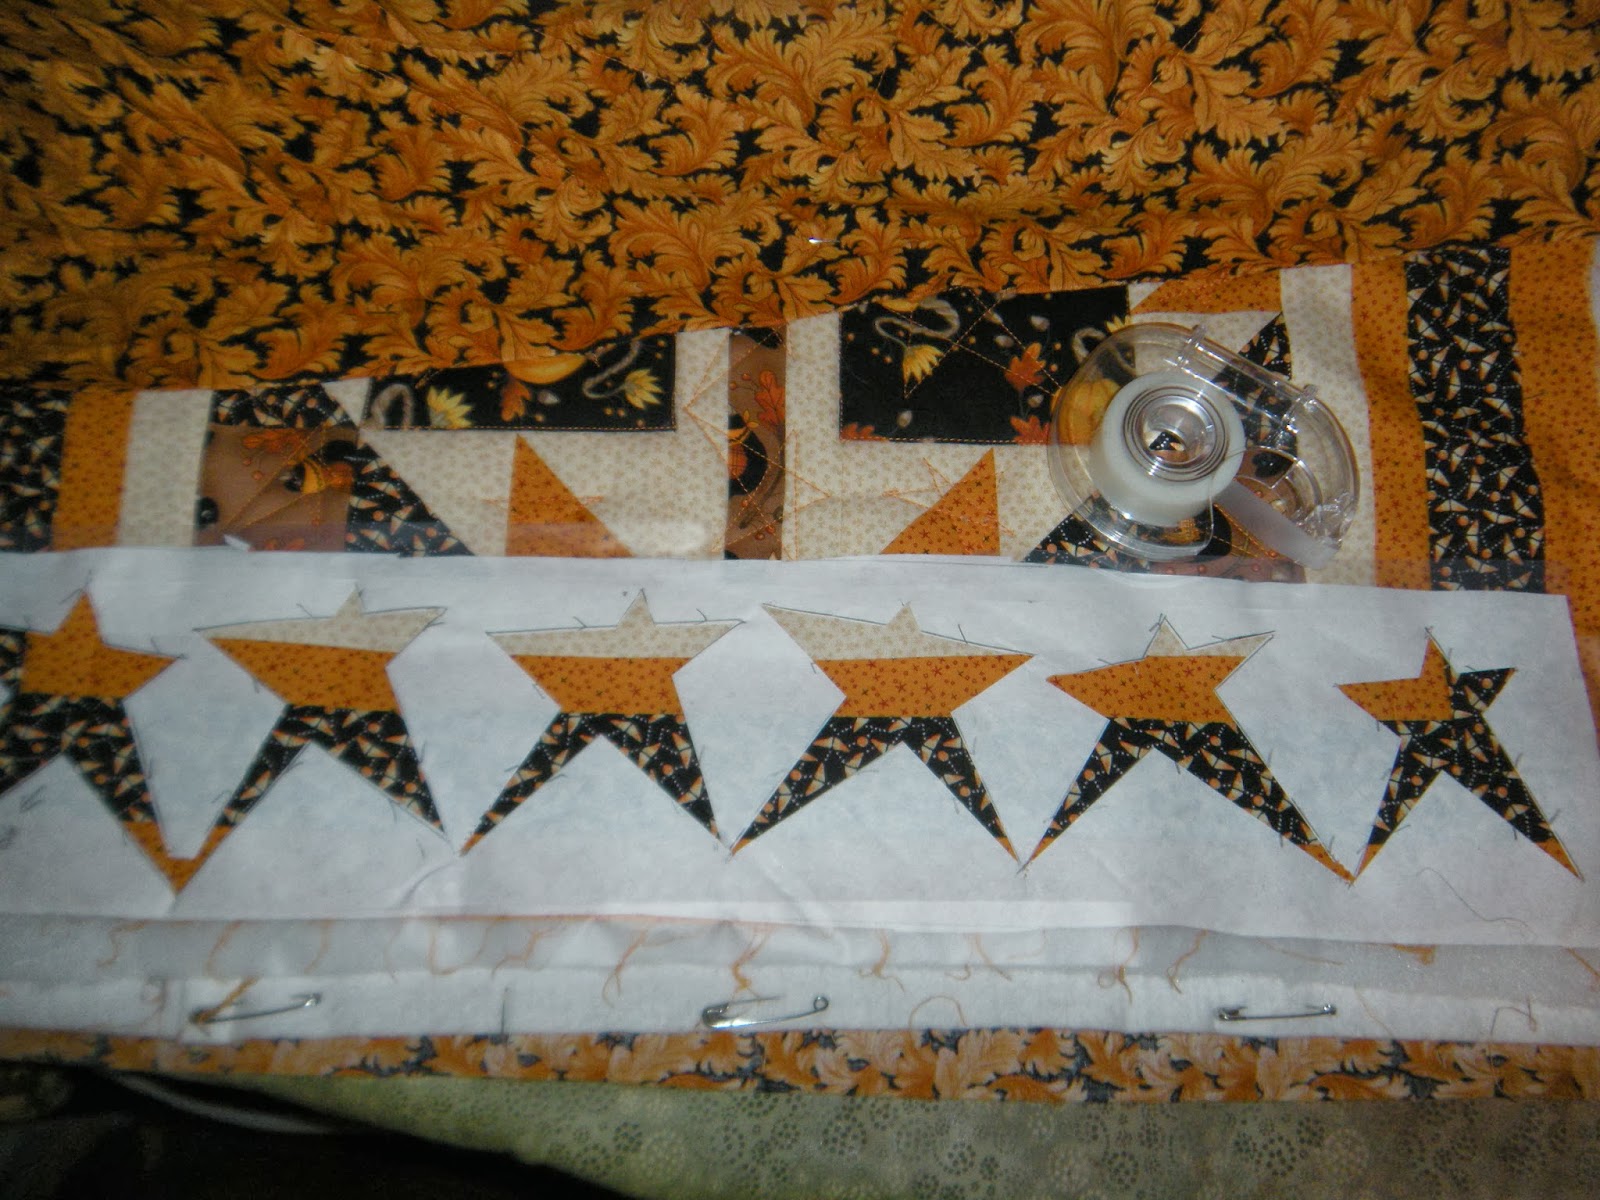
I decided to do primitive 5 point stars for this quilt
to compliment the fabrics and design.
Now that I have done these a few times, I think I could easily make these stars free form, but these stencils helped me learn
and to keep them uniform in size.
and to keep them uniform in size.

I cute the centers out of the stars carefully with a sharp craft knife.

I prepared the quilt sandwich and pinned on the outer edges only,
back and front.

I actually use as few pins as possible on quilts.
I am very careful to smooth front and back a few times and move pins as needed before I am ready to quilt. While quilting, I turn the quilt over frequently to be sure I have no folds in my backing. This works best for a small quilt, of course, but I use the same method for a larger quilt on my home machine. Sometimes I pin only one section as I work on it and remove and repin for the next section for a larger quilt.
Works for me!

I laid my templates on my quilt and pressed in place with a warm iron.
The templates peel off easily to be moved and reused
and leave no marks on my fabric.

For these templates I "quilted inside the lines,"

I started in the middle and did the individual stars first.

The I did the small two star templates in the sashing.

Then I did the outside borders

I planned my way and marked my template with direction arrows
and where to start, turn and finish.

Here is the turn on the other end.

I keep my iron handy for touch ups as needed.
Sometimes I need to add a little tape for the longer templates to keep it fixed and to help the edges from curling.
I then need to be careful not to touch the tape with the hot iron.

Then I placed moved the template to the opposite side.
These two sides had five stars and went corner to corner.

For the other two sides, I only needed to fit three stars in between the stars on the corners. I used the same stencil only
I marked the turn for the shorter borders.

These templates are durable and can be reused

... and saved for another day.
I have used freezer paper templates and guides for other quilts, too.

On this table runner I wanted a uniform size and shape and
I quilted outside the edges of the template.
I just moved the template as I went along.

Then I made parallel quilting lines outward to the edge of the tablerunner.

For this quilt, I used the template as a guide

to keep the curve uniform on each flower petal.
I hope you have found this tutorial helpful.
Happy Quilting!
~ <3> ~
wow so beautiful. Thank you for sharing this tutorial.
ReplyDeleteGreat tips - thank you.
ReplyDeleteGreat tutorial. Thanks for sharing and I will be trying this for sure.
ReplyDeleteI hadn't thought about cutting the templates out so that you could reuse the paper. I always rip and tear to remove them. Thanks for the great idea.... and the quilt is really cute!
ReplyDeleteGreat ideas my Friend! Thank you so much for sharing :)
ReplyDeleteThanks for the tutorial, I am just starting to learn FMQ and I need all the help I can get.
ReplyDeleteHi Pat! This is a great idea. I'm trying to use this technique with some paisley shapes if I can figure out exactly what will work. I'm glad I stumbled upon this on Pinterest! ~smile~ Roseanne
ReplyDeleteGreat idea, I will have to try this. Thanks for sharing!!
ReplyDeleteWhat a great idea! I was just going to quilt my UFO. It was an UFO because I wasn't sure how I was going quilt this giant quilt. LOL. Your article couldn't come at a better time. Thank you! So much for sharing.
ReplyDelete