Jelly Roll Pumpkin Block ~ Free Tutorial
Here are the cutting instructions for my
Jelly Roll Pumpkin Block
to celebrate Sew a Jelly Roll weekend.
Thanks to this event, I take one of the sale jelly rolls off my shelf and sew something with it.
This block was hand drawn on graph paper
and I figured the cutting as I sewed.
Cutting Instructions:
From Jelly Roll:
Cut 6 strips 10.5" by 2.5" for pumpkin
Cut 1 square 2.5" for stem
Cut 1 rectangle 2.5" by 3.5" for leaf
Background:
(may be cut from jelly roll strips)
Cut 4 squares 2.5"
Cut 1 rectangle 2.5" by 5"
Cut 1 rectangle 2.5" by 1.5"
Cut 2 squares 1.5"
Cut 2 rectangles 1" by 10.5"
I started by sewing the leaf unit.
I like to use my 1/4" seam ruler to cut off the corners before I sew.
You may prefer to draw a line and cut the extra fabric away after you sew.
After I sewed the leaf, I assembles the stem and leaf row.
After completing the top row, I sewed the pumpkin section.
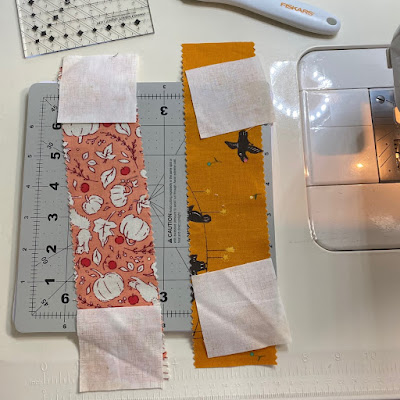
First I sewed the corners of the outside pumpkin strips.
I used the same, cut and sew method to round the corners on the pumpkin.
Then I sewed the pumpkin strips together
and added the narrow border strips to the side.
Nutmeg was my quilty kitty inspector for this block.
She helped me press the block, too.
Here is how we pressed the seams in this block.
This Jelly Roll Pumpkin Block measures 12.5" unfinished.
I am working on more blocks for my Jelly Roll Challenge Quilt.
I am also quilting my Bats & Boos Quilt.
I love fall quilts!
~~~
For another of my Free Jelly Roll Day Blocks, click the link below for my
Jelly Roll House Block
Hmmm ... according to my post, this block was intended to be the first in a series of jelly roll house blocks. I think I sewed others.
I need to find them and renew this project someday.
So many quilts to sew ... sew little time.
Happy Jelly Roll Sewing!


