My New Spider Web Quilt!
To wrap up this year's
I would like to share the how-to for making this larger web ...
Materials Needed:
168 squares 2.5"
21 are needed for each of eight sections
21 are needed for each of eight sections
2 yards of black fabric for web, backing and binding
40" square of batting
Method:
Method:
Piece rows.
Press seams open as you go.
cut triangles.
Layout
Time to add the curved black web.
I cut 13" by 7" sections and used my Quick Curve Ruler or a plate to cut the bands.
I cut two 17" by 10" sections to cut then longer outer bands and sewed these on first.
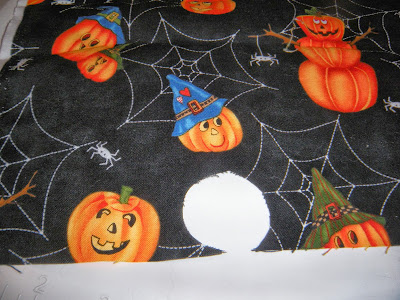
I cut the outer curve first as shown.
I took photos and put them up on my desktop and checked each placement before I cut
It is important to cut each curve in the same place so the web will align.
Ready to sew ...
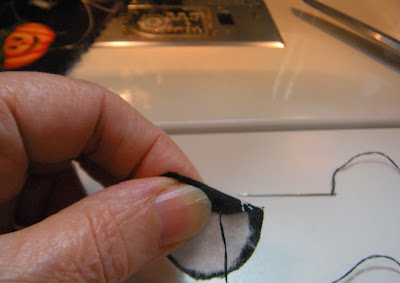
Sew the concave to the convex curves, easing carefully.
I use a pin to mark the center.
I press toward the black.
Align your pieced and pressed units to the 45 degree line on your cutting mat
and trim evenly cutting off the extra black fabric.
Turn and trim the other side.
Top layout ... ready to add black sashing web.
Cut 8 WOF strips 1.5" wide and sew to the right edge of each of the wedges.
Piece into two halves ...
Sew one WOF strip to one side.
With your quilty helper sew the two halves together.
Prepare your quilt sandwich and quilt as desired.
40" square of batting and backing
I use Softy and Crafty poly batting which I buy off the roll from my nearby JoAnn Fabrics.
For most quilts I use cotton batting but this batting works well for the web
as it is thin and holds it shape well without being too stiff.
I do not pin or baste or use basting spray.
I smooth the top and baking over the batting and
I press the top and back of the quilt sandwich before I quilt,
being careful not to touch the poly batting with my hot iron.
I used Superior King Tut "Orange Zest" for this quilt and used my walking foot in the black sashing to accentuate the spooky spider web.
I cut four 2.25" strips of the black fabric for my single fold binding.
I cut four 2.25" strips of the black fabric for my single fold binding.
I hope you have enjoyed this tutorial!
This wraps up my
Spider Web Quilt Along 2014
This free tutorial will remain up on my blog.
If you make a spider web quilt at any time, please send me a photo
or add it to our Flickr album.
It would make me sew happy to see your version of the pattern.

Happy Halloween!
~~~~~~~~~~~~~~~~
Edit Nov 4th:
Linking up this new tutortial today at

Linky Tuesday @ Freemotion by the River
Click on the link above to also see that the
Spider Web by Marcy @ Made by Me in Red
is featured there today!
Congratulations, Marcy!
It is a joy to see this beautiful quilt made with my tutorial featured
on Connie's wonderful blog.
:)
This wraps up my
Spider Web Quilt Along 2014
This free tutorial will remain up on my blog.
If you make a spider web quilt at any time, please send me a photo
or add it to our Flickr album.
It would make me sew happy to see your version of the pattern.

For more photos of my quilt please
Happy Halloween!
~~~~~~~~~~~~~~~~
Edit Nov 4th:
Linking up this new tutortial today at

Linky Tuesday @ Freemotion by the River
Click on the link above to also see that the
Spider Web by Marcy @ Made by Me in Red
is featured there today!
Congratulations, Marcy!
It is a joy to see this beautiful quilt made with my tutorial featured
on Connie's wonderful blog.
:)


