Patchwork Christmas Stockings
Hello! For those of you joining me for the first time for the
... welcome to my quilty corner!
For those of you from the Monday Morning Link-up, I am happy your found your way back to my little scrapatch.
For those of you who have been following along for awhile, thanks for reading and leaving kind comments. It makes me feel all warm and quilty.
I started these stockings
here a week ago and I have the first four completed. I have a few more to get ready for Santa so more stockings are in the works and ...
... this one is on my sewing table waiting for me now.
Although I used the template and patterns from
Maywood Studios Free Quilts
& Projects as an inspiration, I have designed my own tops and I have found a way to sew these that I find easier than their instructions, which call for leaving an opening on the side to turn the stockings inside out and hand stitching the opening closed. My method is all machine stitching and I leave the opening at the top and attach the cuffs with a ...
double seam to cover the cut edges.
Note: This method is similar to a French Seam, where you would sew right sides together and then turn wrong sides together and sew a wider seam to cover the raw edges.
Here is my method, step by step ...
My first stocking was made with some 1.5" scrap strips that I had strip pieced a few years back for another long forgotten project.
Pin the template to the front, right side up, and use scissors to cut around the curves.
Cut the back with the pattern template facing down
so it is the mirror image of the front
cut the lining pieces together at the same time
from fabric that is folded double
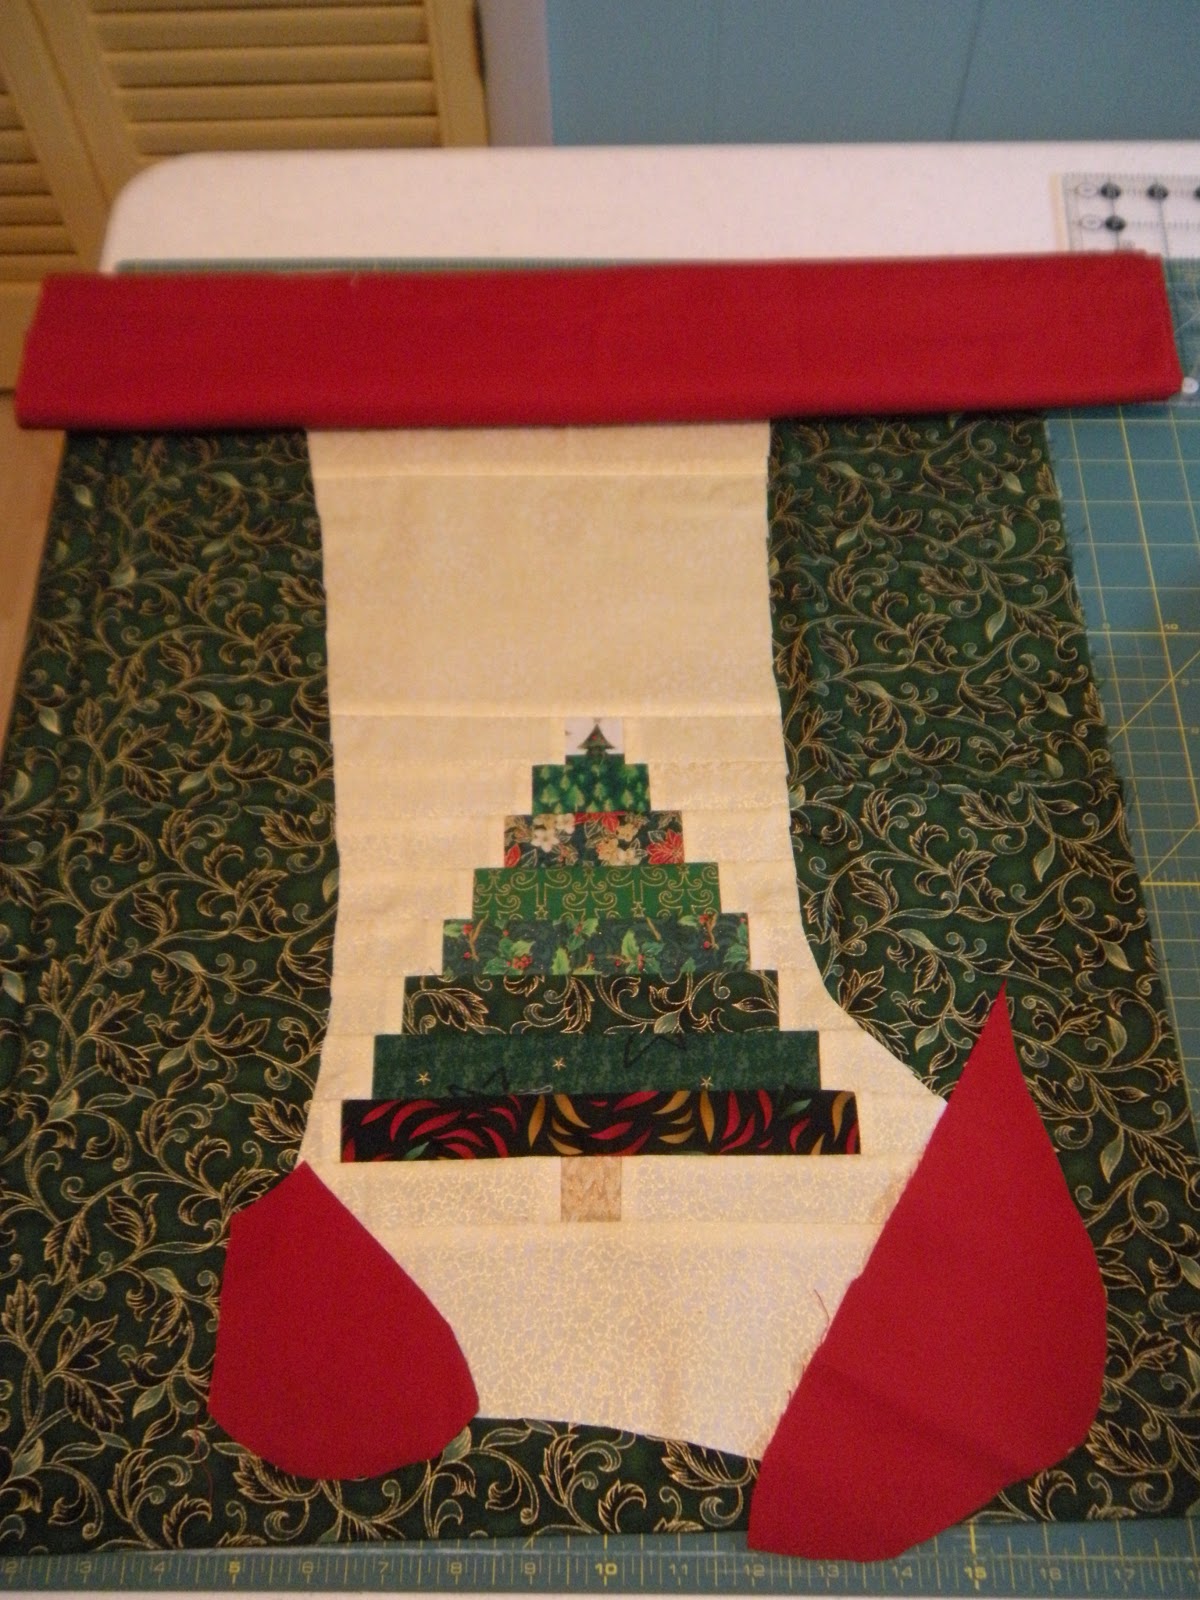
add toe pads to the front using a sew, flip, press and trim technique
add heel pad details the same way
press and trim and your top is ready
pin and sew front to back, right sides together, leaving top open
pin and sew lining together, removing pins as you go,
leaving leaving top open
Turn stocking right side out, seams inside. and press.
Press lining wrong side and seams out.
Important Note: Insert lining into stocking so that the seams are hidden between the layers and only the top is open. Then make the cuff and hanger to pin to the top opening.
cut a 6.5" WOF strip for cuff,
measure top ...
my top openings were 16.5" so I cut the cuff strips at 17"
cut a 6" x 1.5" strip for hanger, fold in half right side together and sew
using a safety pin to turn hanger right side out
press cuff seam open and then press in half, right sides outward
The next step is to assemble
and to stitch the top closed.
Pin the folded cuff to the open top ...
make sure the hanger is up; reinforce hanger with stay stitching
Stitch the top opening closed through all layers, cuff, stocking and lining, removing pins as you go.
First cuff seam is done.
The raw edges of the top seam will be covered in the next seam.
Press the cuff seam down, making sure the hanger is straight down
Turn the cuff inward and press
Stitch the second cuff seam about 1/2" from top being sure that the your new seam is below the seam that had been turned inward and that the hanger is straight. You can feel the bulk of the seam through the layers.
Turn cuff upward and press
Turn cuff outward and down and press.
Stocking #1 is Done!
Time to sew my current stocking project.
If there is a part of this tutorial that is confusing, please let me know and I will try to taker pictures to better explain the method.
Have a happy sewing day!
Ho! Ho! Ho!




.JPG)


