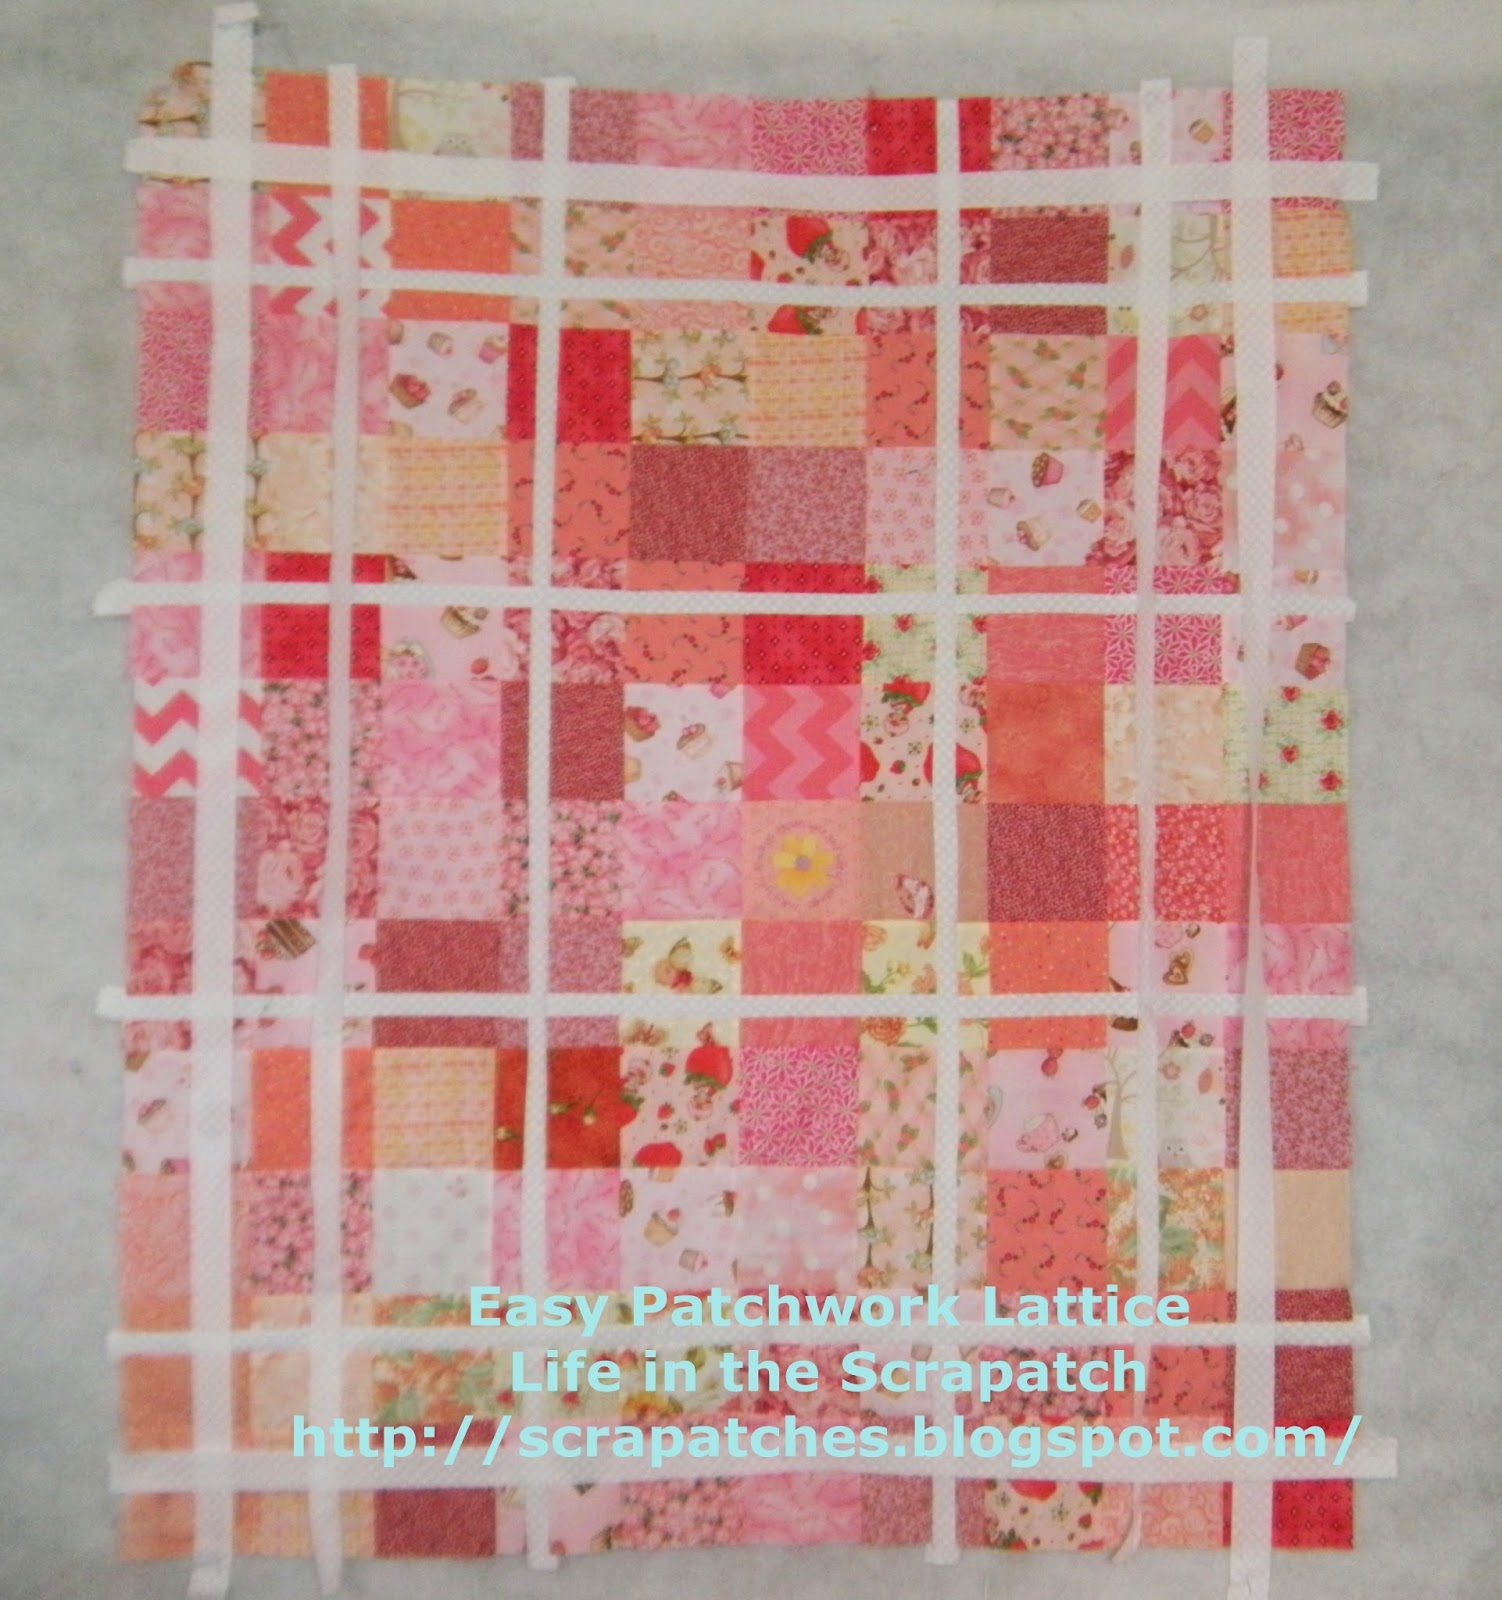
Easy Patchwork Lattice
I started my quilting experience with the old wisdom that
"If you can sew a straight line, you can made a quilt."
Today I am taking a step forward and saying to myself,
"If I can sew a straight line,
I can cut a straight line!"
On any quilt.
To make easy patchwork lattice.
To create a plaid effect.
To make easy interwoven quilts.
To make easy knot quilts.
The possibilities are endless!
My mind is whirling and full of quilts I want to make!
My quilty muse is sew happy!
Here is my method:

I sewed this
Scrappy Charm Quilt

I tested my method by making this
Easy Plaid Patchwork Block
Then I was ready to go on my quilt top!
I cut strips WOF for the cross lattice and pieced them into long strips for the upright lattice.

I started pinning them to my quilt on my design wall to see how many strips I wanted to add to my charm top to create the lattice effect.
I sewed the first strip onto my charm top ...
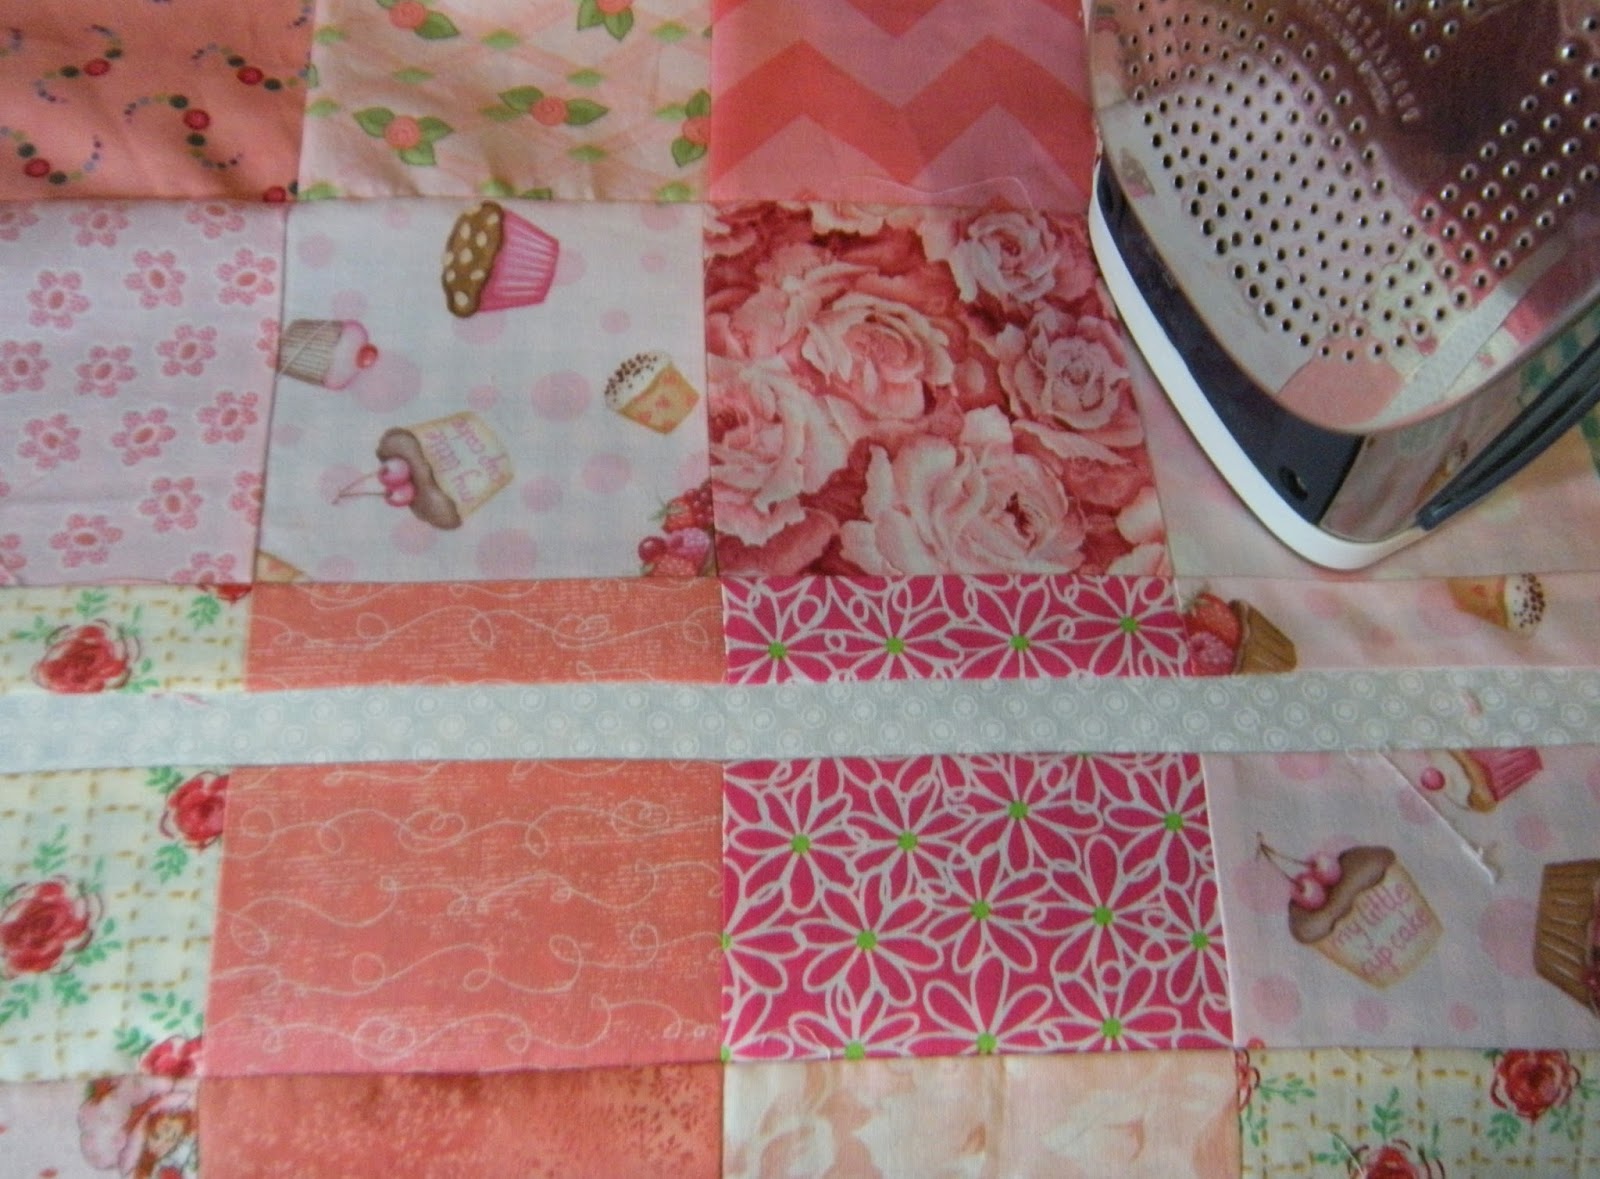
I pressed my strip.
I CUT my QUILT TOP
1/4" to the outside of my seam line,
aligning the 1/4" line on my ruler with my seam line
and using my rotary cutter to cut away the right side of my quilt in progress.
This first cut was the hardest part.
It was a step in faith that I was going to cut my already perfectly pretty pink charm quilt to create something even more special.
I carefully moved my too short ruler up my seam line and continued to cut.
I took the two halves of my quilt back to the sewing machine.
Aligned my cross seams as I sewed.
I did not use pins.
I am vision impaired and I use touch to align many of my seams.
I pressed my lattice strip.
Looking good!
I sewed the next lattice strip onto the top and then cut away.
By the time I was second cut all the butterflies in my stomach about ruining my quilt top weer long gone and I was confidant and happily playing with the fabric.
This is fun!
I sewed the cross lattice seam to piece my top back together.
I pressed.
I am impressed!
This "sew and cut" method works
and it is easy
and it is sew much fun!
Weekends are busy family times for me.
Monday I do my house cleaning and then I sew.
My top is waiting and I cannot wait to sew!
Linking UP today with all the lovely work in progress at
EDIT:
Here is my completed top.
For more details, click
HERE
Thanks for stopping by my scrapatch today.
May you have a happy, quilty day, too!
:)