When I signed up for this hop and the Stitch Me Up Packet arrived in my email, I was overwhelmed by the possibilities. The many free patterns are all so beautiful! I am sure you will be seeing much more intricate projects for this hop. There are flowers and gardens and houses and adorable wee tots. I chose one of the simpler patterns. The geometric shapes in this pattern by Bee Tree Designs appealed to me.
When it came time to chose a project, I decided that the simple pattern was very "primary" and that it would be wonderful for a baby or toddler.

A Baby Bib!
I drew up a pattern ...

I wanted to keep the same lines as the Elements design so I used these to decide on my shape for the bib. I drew this directly onto the paper side of piece of freezer paper, so I would be able to iron the pattern right to the fabric. I used my ruler for the straight lines and drew around the bottom of an empty thread spool for the curves. At one point I realized my initial pattern had to neck opening too small, so I recut the opening larger. These photos were taken before I realized this design flaw and recut.

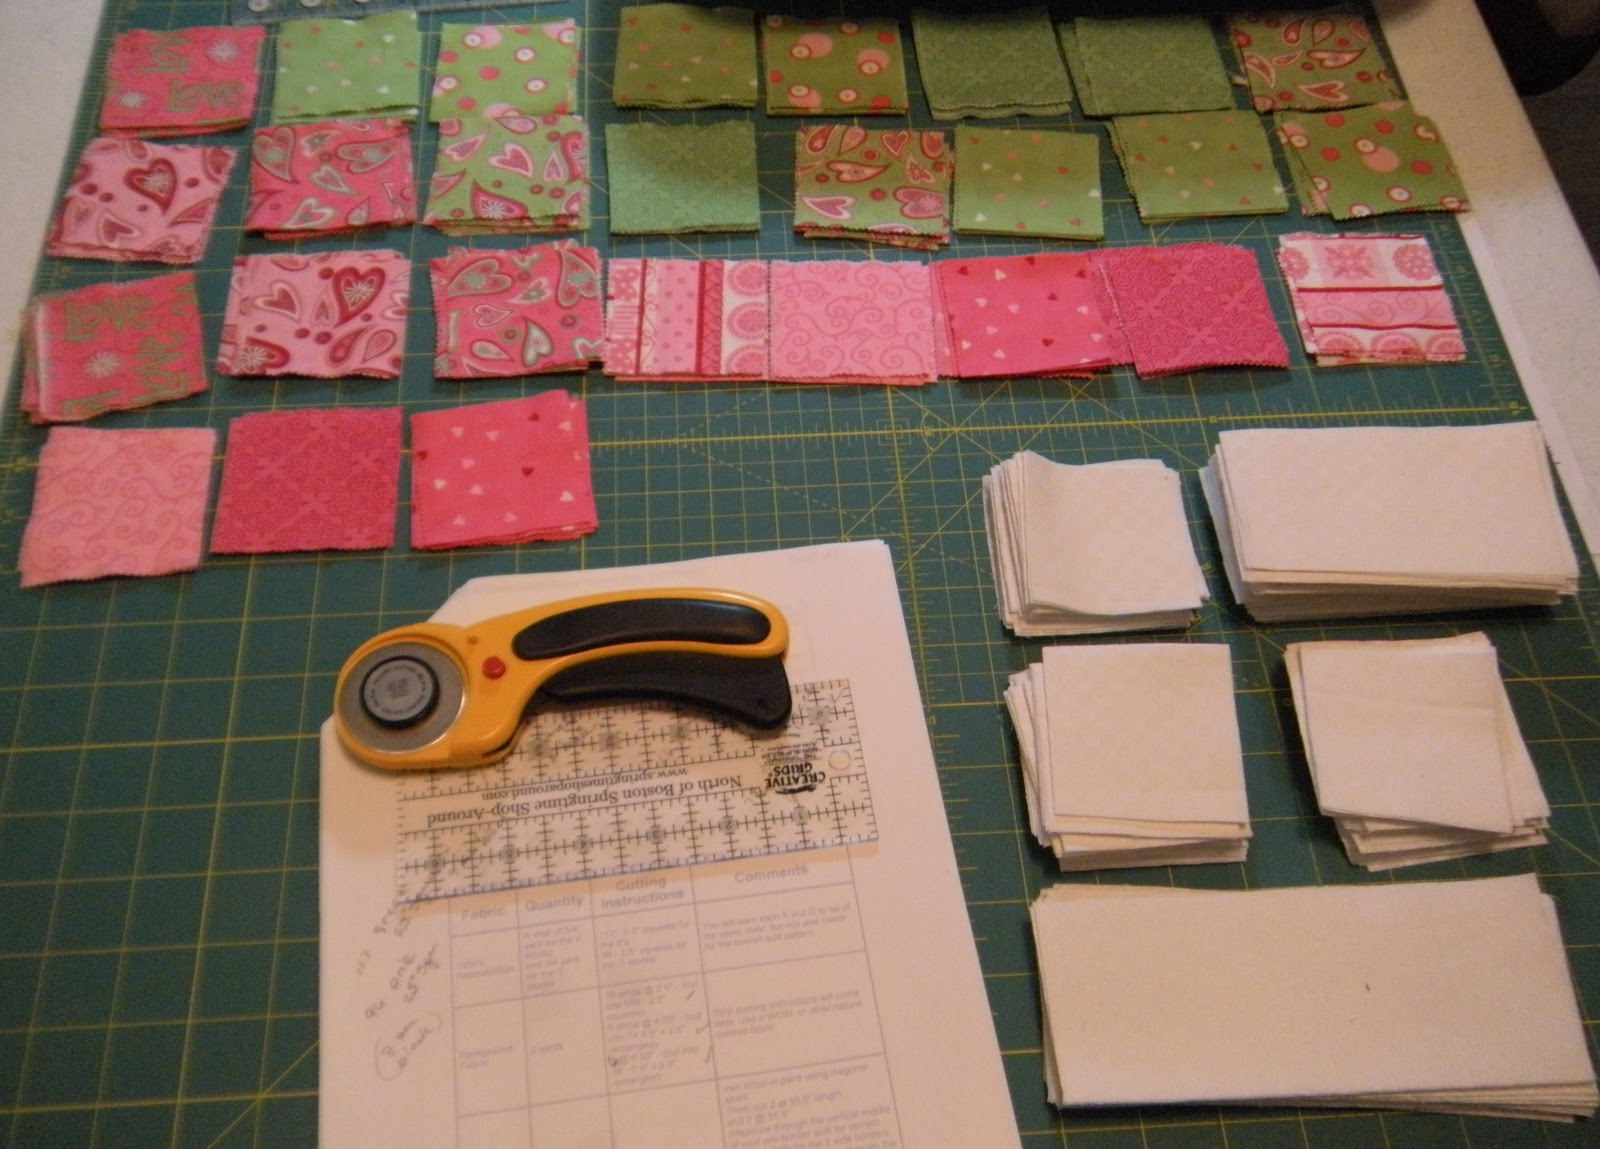
pattern details

cut

front
This is when I realized the neck opening was cut too small.
This is when I realized the neck opening was cut too small.

batting
It is snowing here again!

back
with enlarged neck opening
with enlarged neck opening

pin and machine stitch
This is an experiment and my own method.
with the batting only underneath.

Katniss helps thread and set up and check my machine

Katniss checks my machine settings
These are my standard settings.
After experimenting, I reset the stitch smaller to 2.0
to make it easier to remove the paper.

Katniss helps me matching the thread colors.
I started with my thin white piecing thread then I switched to red top thread as I knew I was planning to embroider with red perle cotton.
I started with my thin white piecing thread then I switched to red top thread as I knew I was planning to embroider with red perle cotton.

remove paper ... use tweezers if needed to get tiny bits

easy stem stitch right over the machine stitches
This hand stitching over machine stitching was an experiment and I will definitely do it again. I used larger stitches on my machine like basting at first. Then I set it to a smaller stitch. The smaller stitch covers easier and also makes it easiest to remove the paper. I also tried both white and red thread since my top color was red. The red was easier to cover, but one color would not work for embroidery with multiple colors. Next time I will match my machine color thread to the background fabric and set it to a small stitch length.

front and back

sandwich with right sides together
detail of the back of my hand stitching shows on the batting

machine stitch through all layers around the edge
Note: Remember to leave a 2-3 inch opening on one side to turn your bib right side out

crimp edges 1/4" away from seam

turn right sides out
I use a bone tool with rounded edges to smooth out the seams.


machine stitch the velcro closure

Here is the finished Baby Bib!
This Baby Bib is destined to be included in a package that
I will be donating to the next ...

and I feel this is a very worthy cause.
Just thinking about the young mothers of our service families who may be far away from home and getting ready to have a baby, sends me to my sewing machine.
I hope you will consider contributing in some way to this effort.
Giveaway Time!

Make Your Own Baby Bib Kit Giveaway!
[This Giveaway is now Closed ]
[This Giveaway is now Closed ]
Cat not included ... again ... ;)
Pattern, back, batting, front ... when my model gets off of the red fabric, I will cut this piece, too. I will also enclose the velcro closure and a twist of red perle cotton to complete your own baby bib.
For a chance to win, please leave my quilty
kitties and I one comment. We love comments!
You do not need to be a
follower to win.
I will send this Baby Bib Kit anywhere in the world.
I will send this Baby Bib Kit anywhere in the world.
Winner will be chosen at random.
Please be sure that I have a way to contact you by email to tell you that you have won and to get your mailing address. If you are a no reply blogger, I will pick another random winner.
For a 2nd chance to win be a follower and leave me a second comment telling me you are.
This giveaway will close at Midnight EDT on March 29th.
A winner will be announced and emailed on March 30th.
Best of luck!
WEDNESDAY March
20th
Karen@That Other
Blog
Susan @That Other
Blog
Life in the
Scrapatch (you are here!)
Thanks to
and
for organizing this wonderful blog hop
and
to all participants for their
amazing creations and inspirations!

Thank You for visiting!

<3