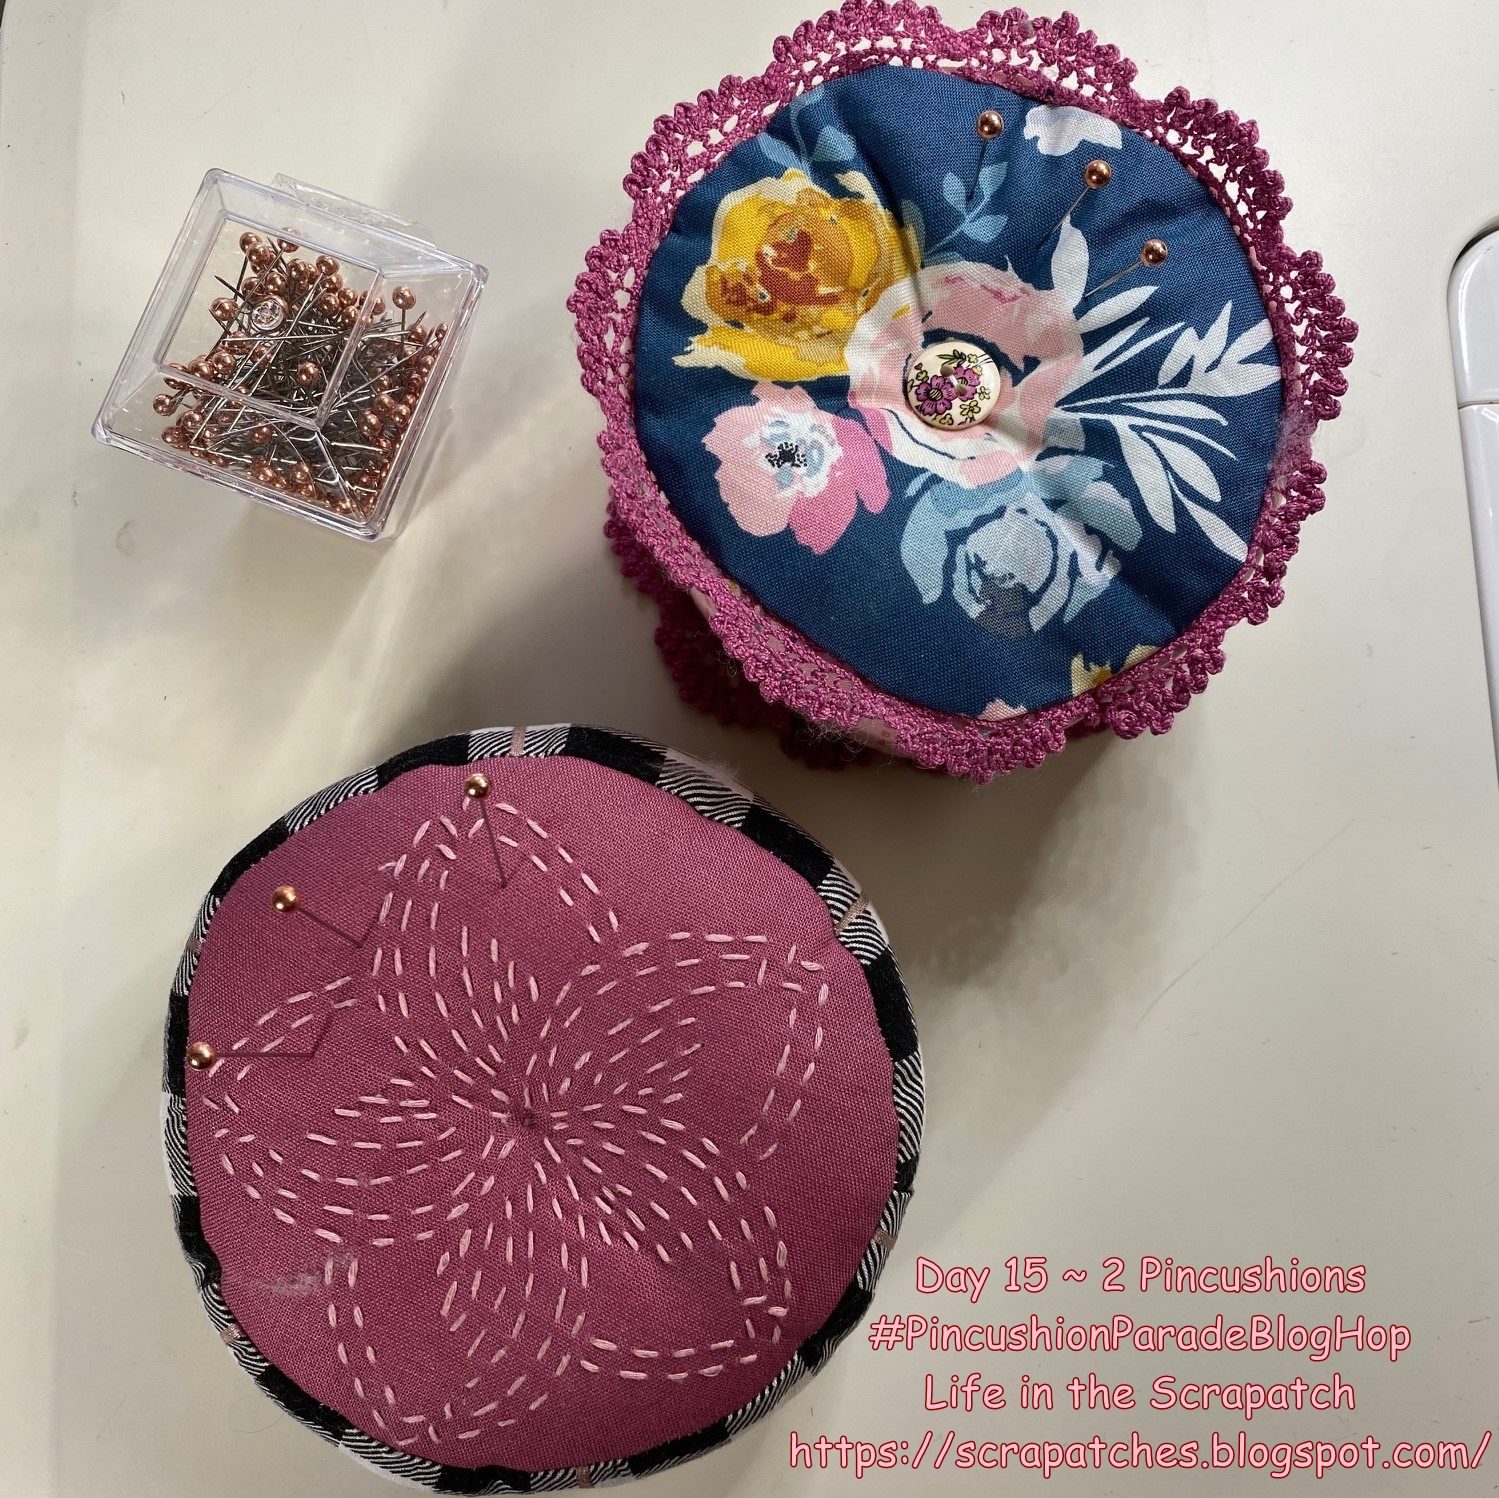
Here are my newest pincushion creations@
I am hosting today for the #PincushionParadeBlogHop
I designed and made these pincushions for the
Pincushion Parade Blog Hop

Here is my Sakura Sashiko Pincushion.
This was my first thought for what I would like to make for a pincushion for this hop.
I sized this pincushion to fit into my magnetic rose gold pin dish,
which you can just see around the edge in this photo.

Here are my supplies.

Free Sakura Sashiko Pattern Template Here

Here is my Sashiko cherry blossom stitched.
I am a beginner when it comes to Sashiko.

My First Sashiko Project Is Posted Here
with the tips and tricks I have learned so far.
There are many good sites online that teach Sashiko,
much better than I ever will,
More information on that in the link above.

That said, I did hand draw this Cherry Blossom design myself
and transferred it to the pink fabric with a white
Clover Chaco Liner Pen
I used the plain side of this
Plum Hidamari Sashiko Fabric
on which to draw my design.
I saved the pre-printed part of the panel for another project.

I find sashiko to be a very easy and relaxing form of embroidery
as it is all straight stitches.

Once my cherry blossom was stitched I started my pincushion.

I cut my circle and added a very thin layer of fusible batting to the back.

I cut the circle of my backing fabric and an over-sized 2" by 21"
strip of my plaid side fabric.
I started stitching the strip to the edge of my front piece,
right sides together,
leaving an open section at the start to close my circle later.

Here is my side sewn to the front with the open strip.

I measured, carefully cut and sewed the seam to close the strip
and then finished sewing it to the top.
This process is much like closing a binding on a quilt.

Here is my top ready to add the back circle.

I pinned my back circle to the side strip, right sides together.
The red pins mark the place where I will leave this open for turning
right side out.

Then I slowly stitched around the edge.

Then I turned it right side out and smoothed the circle.

I filled this pincushion with polyfil and lavender scented crushed walnut shells.
I love the scent of lavender. This pincushion is for me.
I do not use scented filling if it is a gift unless I know for certain
my giftee is not allergic.

I hand sewed my back closed using a whip stitch.

I tufted this pincushion with the pink Hidamari Thread that I used for
the sashiko stitching as I knew it would be visible on the front.

I added a decorative button to the back with regular thread
without sewing through to the front.

Here is the finished front with the single stitch that tufts it in the center.

To show what this pattern might look like just showcasing pretty fabrics,
I also made this second pincushion.

For this pincuishion I used the back circle in my Sashiko Pattern.
Any size circle would work for the template, even a small plate or bowl.
I cut the front and back circles and used a half of a 2.5" jelly roll strip
and a strip of lace from my stash.
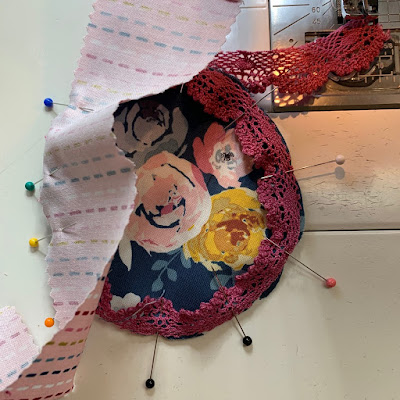
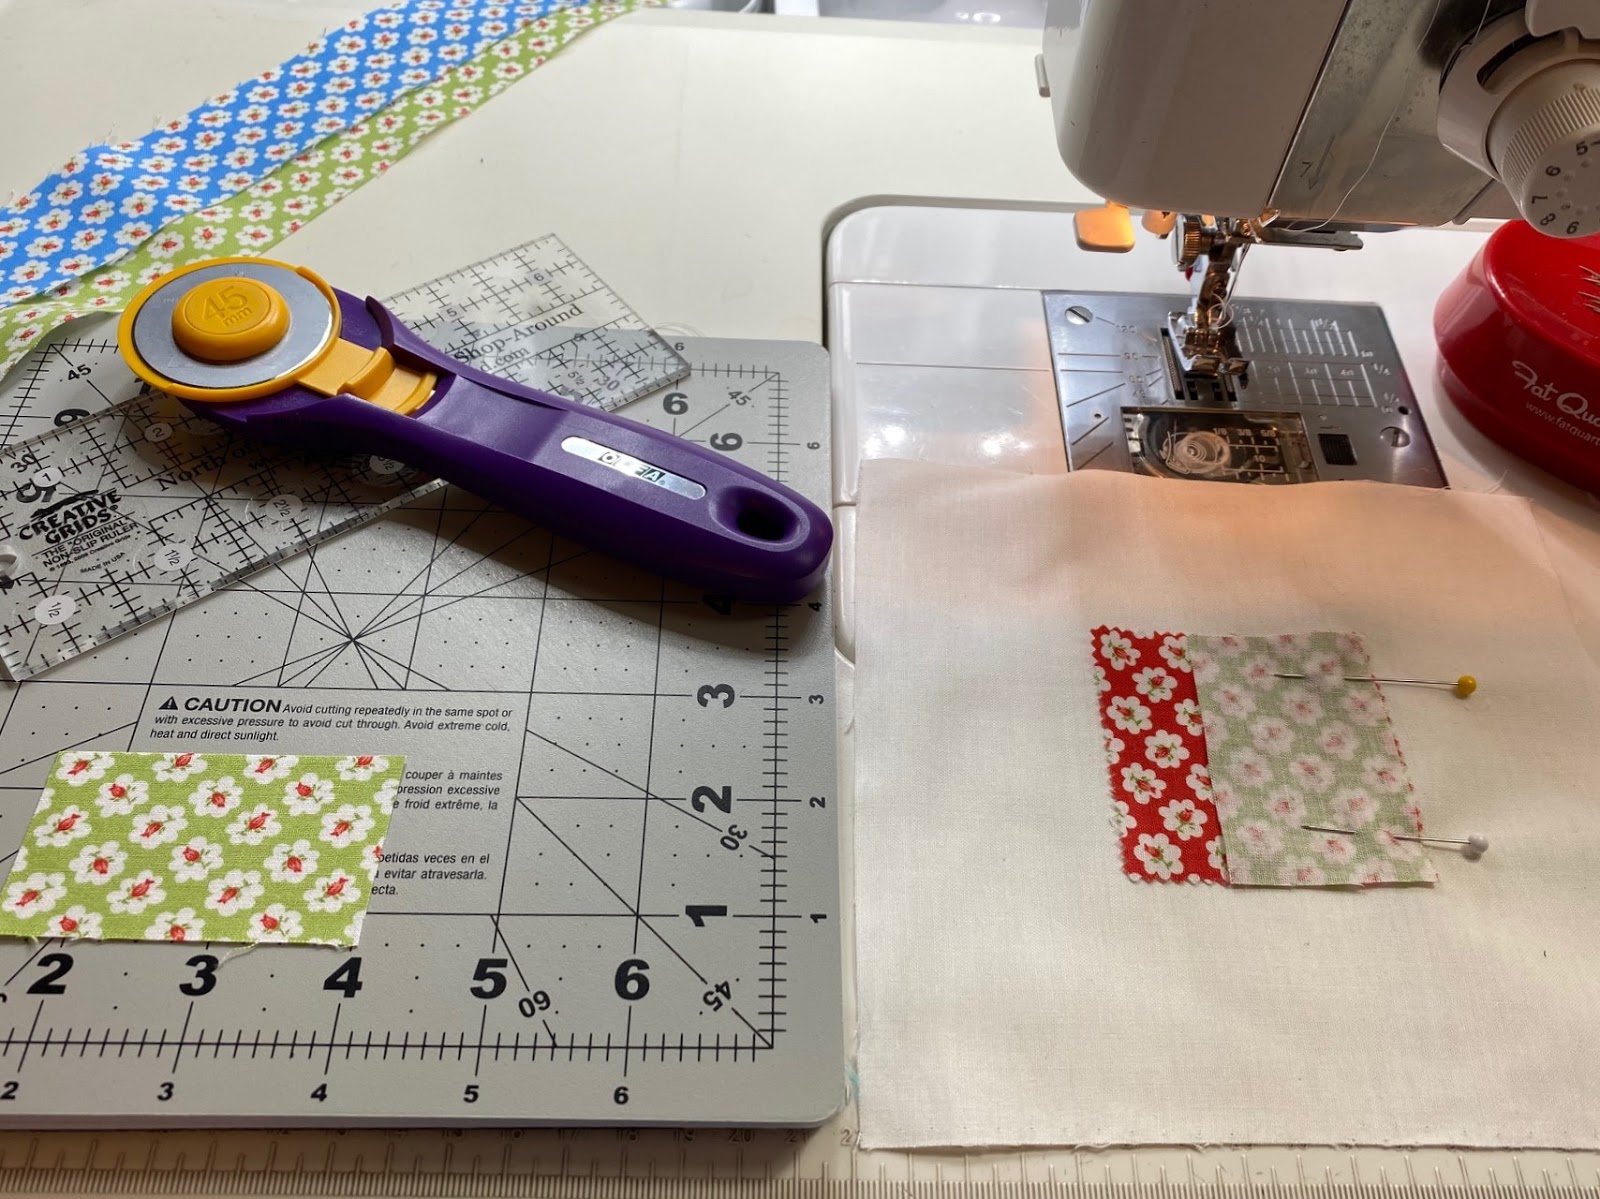
To add the lace, I cut it in half lengthwise and pinned the cut edge to the right side
of my top circle. Then re-pinned to add the jelly roll strip.

I also added lace to the back of the pincushion.
To finish it I tufted the center with decorative buttons

I hope you will enjoy trying sashiko with this project.
If you prefer to just make a round pincushion with pretty fabrics,
I look forward to seeing that project, too,
I hope you enjoy making this pincushion as much as I did.
Have fun and happy sewing and blog hopping!

Here is my Sakura Sashiko Pincushion.
This was my first thought for what I would like to make for a pincushion for this hop.
I sized this pincushion to fit into my magnetic rose gold pin dish,
which you can just see around the edge in this photo.

Here are my supplies.

Free Sakura Sashiko Pattern Template Here

Here is my Sashiko cherry blossom stitched.
I am a beginner when it comes to Sashiko.
My First Sashiko Project Is Posted Here
with the tips and tricks I have learned so far.
There are many good sites online that teach Sashiko,
much better than I ever will,
More information on that in the link above.

That said, I did hand draw this Cherry Blossom design myself
and transferred it to the pink fabric with a white
Clover Chaco Liner Pen
I used the plain side of this
Plum Hidamari Sashiko Fabric
on which to draw my design.
I saved the pre-printed part of the panel for another project.

I find sashiko to be a very easy and relaxing form of embroidery
as it is all straight stitches.

Once my cherry blossom was stitched I started my pincushion.

I cut my circle and added a very thin layer of fusible batting to the back.

I cut the circle of my backing fabric and an over-sized 2" by 21"
strip of my plaid side fabric.
I started stitching the strip to the edge of my front piece,
right sides together,
leaving an open section at the start to close my circle later.

Here is my side sewn to the front with the open strip.

I measured, carefully cut and sewed the seam to close the strip
and then finished sewing it to the top.
This process is much like closing a binding on a quilt.

Here is my top ready to add the back circle.

I pinned my back circle to the side strip, right sides together.
The red pins mark the place where I will leave this open for turning
right side out.

Then I slowly stitched around the edge.

Then I turned it right side out and smoothed the circle.

I filled this pincushion with polyfil and lavender scented crushed walnut shells.
I love the scent of lavender. This pincushion is for me.
I do not use scented filling if it is a gift unless I know for certain
my giftee is not allergic.

I hand sewed my back closed using a whip stitch.

I tufted this pincushion with the pink Hidamari Thread that I used for
the sashiko stitching as I knew it would be visible on the front.

I added a decorative button to the back with regular thread
without sewing through to the front.

Here is the finished front with the single stitch that tufts it in the center.

I also made this second pincushion.

For this pincuishion I used the back circle in my Sashiko Pattern.
Any size circle would work for the template, even a small plate or bowl.
I cut the front and back circles and used a half of a 2.5" jelly roll strip
and a strip of lace from my stash.

To add the lace, I cut it in half lengthwise and pinned the cut edge to the right side
of my top circle. Then re-pinned to add the jelly roll strip.

I also added lace to the back of the pincushion.
To finish it I tufted the center with decorative buttons
If you prefer to just make a round pincushion with pretty fabrics,
I look forward to seeing that project, too,
I hope you enjoy making this pincushion as much as I did.
Have fun and happy sewing and blog hopping!