Showing posts with label Fabric and Cutting. Show all posts

Thursday, March 14, 2013

Really Random Fabric

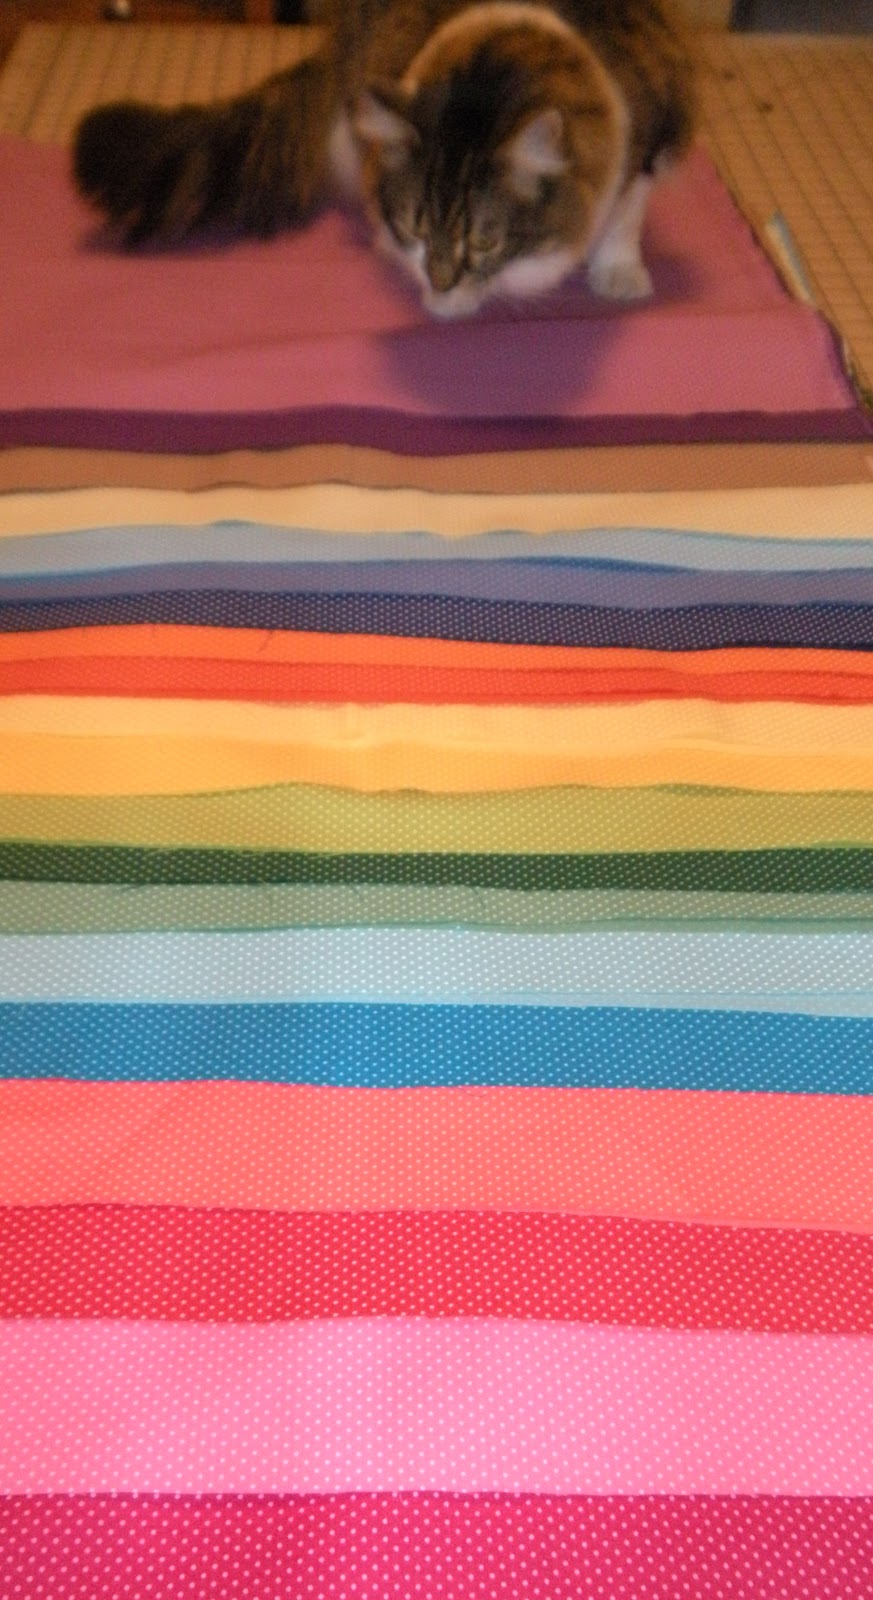
Here are my fabric choices for
the Spring Mystery Quilt Weekend.
 
Thanks to all who helped me decide.
 
20 pretty colored fabric all numbered and laid out according to plan!
 
I can't wait to sew!!!!
 
Since this post is for
Live A Colorful Life
 at Live a Colorful Life

I am going to go a little random here.

First of all ...
 a blogger recently asked what my favorite quilting tool is
and I said my sewing machine,
but I here is "quilting tool" I cannot sew without ... Post it Notes!

I have been known to say if I ever start my own pattern line, I could call it "Post-It Notes Patterns" ... ;)

The other day I was looking all around the house for post-it notes so I could sew and lamented to my hubby that I could not find any post it notes! I was in a dither.

So my sweet hubby bought me a present ...
 
... aren't  they cute?
 
Okay ... now for some
 
Really Random Fabric Pictures
 
 
I have 23 of these colorful pin dots. 
Half-yards of the brights and larger cuts of the black and gray. 
I love the colors!  
The fabric quality is quite nice for what I paid,
which was very affordable.
.
.
.
The Wash Test
 
I washed the black and gray together in the washer on gentle and machine dried a few minutes of low and the fabric quality is very acceptable. For one I cut the edges with my rotary pinking blade the other I did not.  The large cuts did not fray too much in the machine wash and dry process. I take this as a sign of good weave.
 
I am not quite as pleased with the hand wash results.
 
I hand-washed the 1/2 yards of these fabrics as I always pre-wash to remove the chemicals from the manufacturing process and so I will not have any surprises when I wash my quilt the first time.
 
Also, I had never sewed fabrics from this shop and manufacturer before, and I like to test my fabrics.
 
This sink full of colored water is run off from
only the four dark fabrics on the right. 
The first rinse sink water was just as discolored.
It took awhile to get a relatively clear rinse.
 
I am sew glad I always pre-wash!
.
.
.
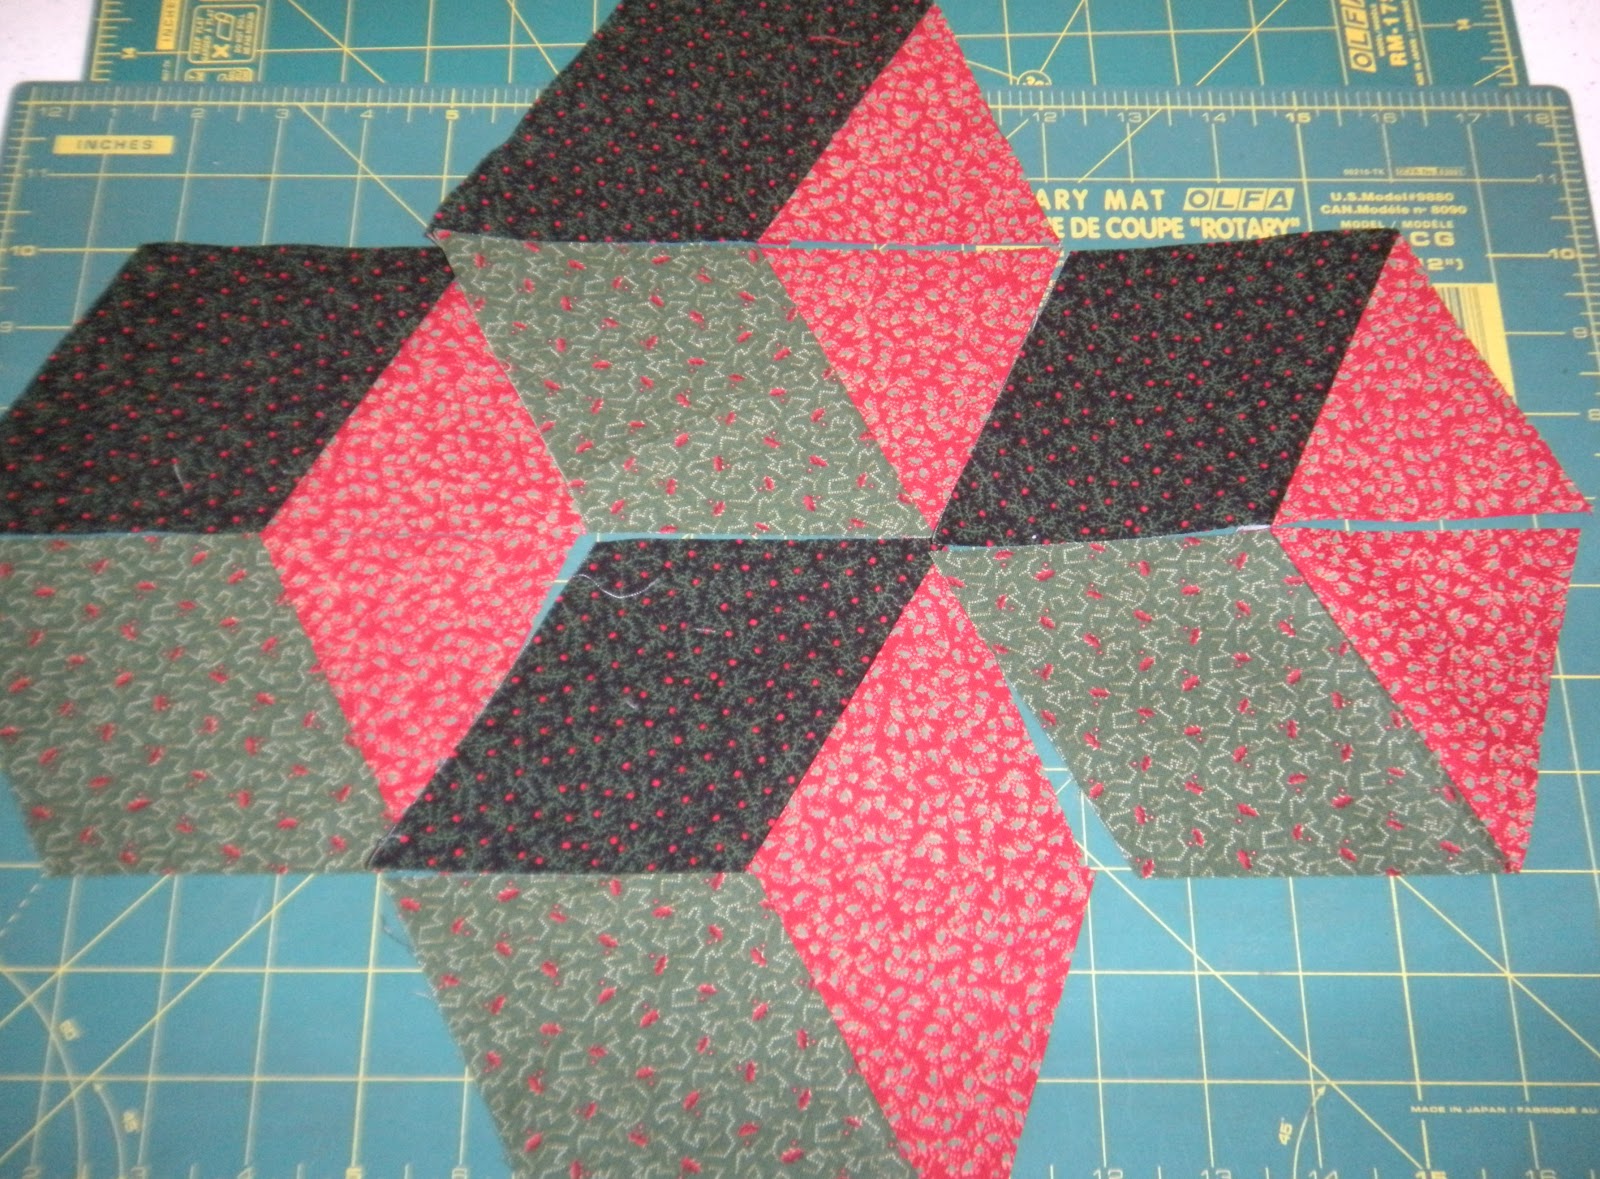
Some Really Random Cuts

 
This hand-washed and dried half yard measures 19 inches on one end
and 17.5 on the other ... hmmmm 


Unfortunately some of my 1/2 yards are not cut straight on the grain.
The dots should be in nice even rows along the grain and they are printed properly.  However, when I press to align the grain and line the dots up on this pretty minty green this is what I get ...
 
 
I have 16.5" of usable fabric for this 1/2 yard cut.
... hmmmm ...


This is another fabric that I will have to give up inches to get 
a straight cut on the grain of the fabric.  Also,the rip you see in this selvage was the way it arrived from the online shop. Now the rip is in the grain but I honestly feel that the person who cut some of my fabrics needed more training or to be more careful.  
 
My LQS always makes me feel like a quilty friend they are happy to have visit and knows I am a happy customer and will return and buy more fabric.
 
I have also had only one other less than happy experience buying fabric online and I have bought from many nearby and online quilt shops. 
 
For the record, I did speak with a customer service representative about my order and am sad to say I feel I had a less than satisfying experience.
 
 
Katniss says, "Sigh."


Katniss is considering whether we will buy from this online shop again.
 

Katniss says "... hmmmmmm? ... maybe? ..."

I do really like the colors and the fabric quality itself is very good.

So I have decided I will order from them again
but that I will only buy large cuts or pre-cuts.
 
I am really looking forward to sewing this mystery.
 
I am sure in the end, my quilt will make both Katniss and I very happy.

The 1st Installment of the Mystery Quilt Weekend in In!

Katniss and Butterfly and I will be sewing soon!

Linking up again with

 Feline Friday
@
Sarah Did It

Have a Happy Quilty Weekend.

And if you like sewing mysterys, grab the pattern
and some jelly rolls or strips and join in the fun!
 
:)
  

Wednesday, March 13, 2013

Two Days Before Spring Mystery Weekend!

(1) black/gray
(2) brown/tan
(3) gray/mist
(4) tan/mist
 
These are my new fabric choices for
 from my favorite Mystery Quilt Designer,
 at my quilty home away from home on the web ...

 
 There are a few Fabric Kits left in her online shop.
 
My initial plan had been two jelly rolls and some hand dye half-yards but I now have the fabric requirements and preliminary cutting chart
and it calls for 20 fabrics or colors.
 
Since my jelly rolls did not quite meet these requirements, I went digging ... and digging ... into my stash.  I knew I had some 1/2 yards of these colorful dots and larger cuts of the gray and black dots somewhere in my stash.These fabrics proved a bit elusive but I kept digging ... and here they are!  I have 23 different pin dots
 
Now I am doing my "which 20 colors do I choose" thing ... going back and forth over what should just be a simple choice. 
(1) Do I use the black/gray?
(2) Do I use the brown/tan?
(3) Instead, do I put in the misty green with the gray?
(4) Do I put the mist with the tan?
 
These fabrics are not washed so I will wash and dry and think.
Tomorrow I will cut!
Butterfly is trying to help me decide.
Butterfly says " The black and white dot matches my lovely fur coat.  Clearly this is the only choice."
 
Katniss is trying to help me decide.
Katniss says, "This nice tan and misty gray green goes good with my hazel eyes.  You should pick this."
 
If you would like to help me decide, please leave a comment.
 
I take all fabric decisions very seriously.
 
Sometimes too much sew ... ;)
 
Looking forward to sewing the mystery this weekend.
 
I have been sewing while I have been stash spelunking.

I made my Wifely Wednesday BOW at midnight ...

Farmer's Wife Block # 33
Farmer's Puzzle

This block was a little fussy and required me to make two of the units twice.  The templates did not seem to fit quite right. 
This is only my second block in this book.

Linking up again with then lovely works in progress at
 
WIP Wednesday at Freshly Pieced
 and with

Fresh Poppy Design

Quilt Story
Have a happy quilty day!
 
:)

Wednesday, November 28, 2012

Easy Tumbling Blocks Tutorial - Part 1 - Cutting Instructions


Easy Tumbling Blocks

No "y" seams!

This tutorial has been featured on the Craftsy Blog!

Links for the Complete Tutorial my be found by Here

Fabric Selection and Cutting

When making this pattern it is important to choose 3 fabrics with good contrast in terms of value.  Value refers to the lightness or darkness of a fabric. When deciding on fabric, first choose one dark fabric ...  and then one light fabric ... then select medium fabric that has a value about halfway between the two.  To make the 3 dimensional illusion of the blocks "pop" you want good contrast between your fabrics.  It may be monochromatic, as in three fabric in the same color family, or three different colors. The color wheel is a good place o start when choosing colors.


To test this method, I am making a table topper for Christmas, with some fabrics that have been in my stash for some time.

It will finish abut 25" square.


I chose red, green and black Christmas fabrics in my stash of which I had about one yard pieces to make my table topper.

Cutting instructions are for 3 inch finished diamonds:

For the blocks ...

Light ... cut two 4 inch strips WOF (width of fabric)

Medium and Dark ... cut two 3.5 inch strips WOF

I also used one 4 inch strip of fabric in a different dark green/black print for the setting triangles and will be using strips of the same fabric for borders.

Cutting the blocks :

To cut the diamonds and triangles needed for this method you will need only regular straight cutting rulers, rotary cutter and mat.


If you have never cut a 60 degree angle before, study you ruler and mat and find the 60 degree lines on each.

It does not matter what type of mat you have ...


Cut a test 60 degree diamond and triangle from scrap fabric.  These were cut from a 2.5" strip ...


Without moving the fabric, turn your ruler 180 degrees and lay the ruler on the edge of the fabric to cut a 2.5" diamond


You should be able to see the diamond shape through your ruler. 

If you like what you seem cut.  You should now have a diamond with equal sides and a 60 degree angle on the long ends and a 120 degree angle on the wide ends.

[Note :  These pictures were rotated automatically by the blog program and it is not letting me rotate them properly.  Sorry about that.]

Now to test cut an equilateral triangle, equal sides and three 60 degree angles ...


Turn your fabric strip so the cut edge is on a line on your mat and your ruler so it is on the 60 degree line on your mat. If you look closely, you will also see the 60 degree line on my ruler.  Cut the triangle.

These are the two basic cutting units for making these Easy Tumbling Blocks.

When you are confidant about cutting the shapes, you are ready to start you Tumbling Blocks.

light and dark strips

Cut your WOF strips from your medium and dark fabrics for your blocks. I stacked my medium and dark fabrics together for easier cutting. 

light strips
If you know what fabric you want for your setting triangles (on the top and bottom of your tumbling blocks) you may also cut these 4" strips at the same time.  If you are not sure what I mean or have not decided yet, cat and layout your blocks first and cut the setting triangles later.


Then cut your diamonds from the stacked medium and dark fabric strips

Cut equilateral triangles from your light strips.


To do this I first cut 4" diamonds ...


 and then cut them in half, as I did with the light fabric for my blocks


OR

 Cut equilateral triangles from your strips, as I did for the setting triangles for my quilt

setting triangles
It is important to note that the light fabric and setting triangles are larger than the diamonds.  This is needed for accurate and straight piecing.  A half inch larger worked well for me.


Lay out your diamonds and triangles on your table or a design wall

I just laid my pieces out on the table near my machine, but a piece of flannel or batting or a flannel backed plastic table cover makes a good surface on your table if you do not have a design wall, as the fabrics will stick to the flannel. 


block layout with different border fabric for the setting triangles
Here is an alternate layout using top and bottom setting triangles cut from the medium and dark fabrics ...

three fabric layout
If any of this is as clear as mud, please feel free to post a question in the comments or email me.


:)