Welcome to my She Who Sews Scrapatch!

My New Sewing Machine Table Cover is my favorite thing!

It has these very useful Apron Pockets!

Lady Janome has a nice new cover, too!
Lady Janome has a nice new cover, too!

This beautiful fabric which perfectly matches the aqua and yellow paint in my sewing room is from the ...

Handmaids line ~ She Who Sews!
from Quilting Treasures
I used the selvage strip from the panel for the handle
on the top of my sewing machine cover.
I used the selvage strip from the panel for the handle
on the top of my sewing machine cover.

Thanks, Madame Samm !
When I first saw the photos of this fabric line,
I was not sure how much I would like the designs in the block panel prints.
I ordered my fabrics from
Shannon @ Fabrics N Quilts
as she had the great multi-colored print I wanted to use for my ironing board cover.
I also ordered the small panel at that time.
After receiving these, I have to say I loved the colors and quality of the fabric and when I saw all the pretty details in the panel print I wanted more!
So I ordered more of the fabrics for more projects.
I am a happy Fabrics N Quilts customer!
So I ordered more of the fabrics for more projects.
I am a happy Fabrics N Quilts customer!
My first sewing room improvement project was to make a new ...
.JPG)
Ironing Station
with a new removable cover for my large DIY Ironing Board
and cover for my Iron Hot Pad

I have posted a Tutorial for how I made this ironing board and cover Here.
My second project was to make a custom sewing table cover ...


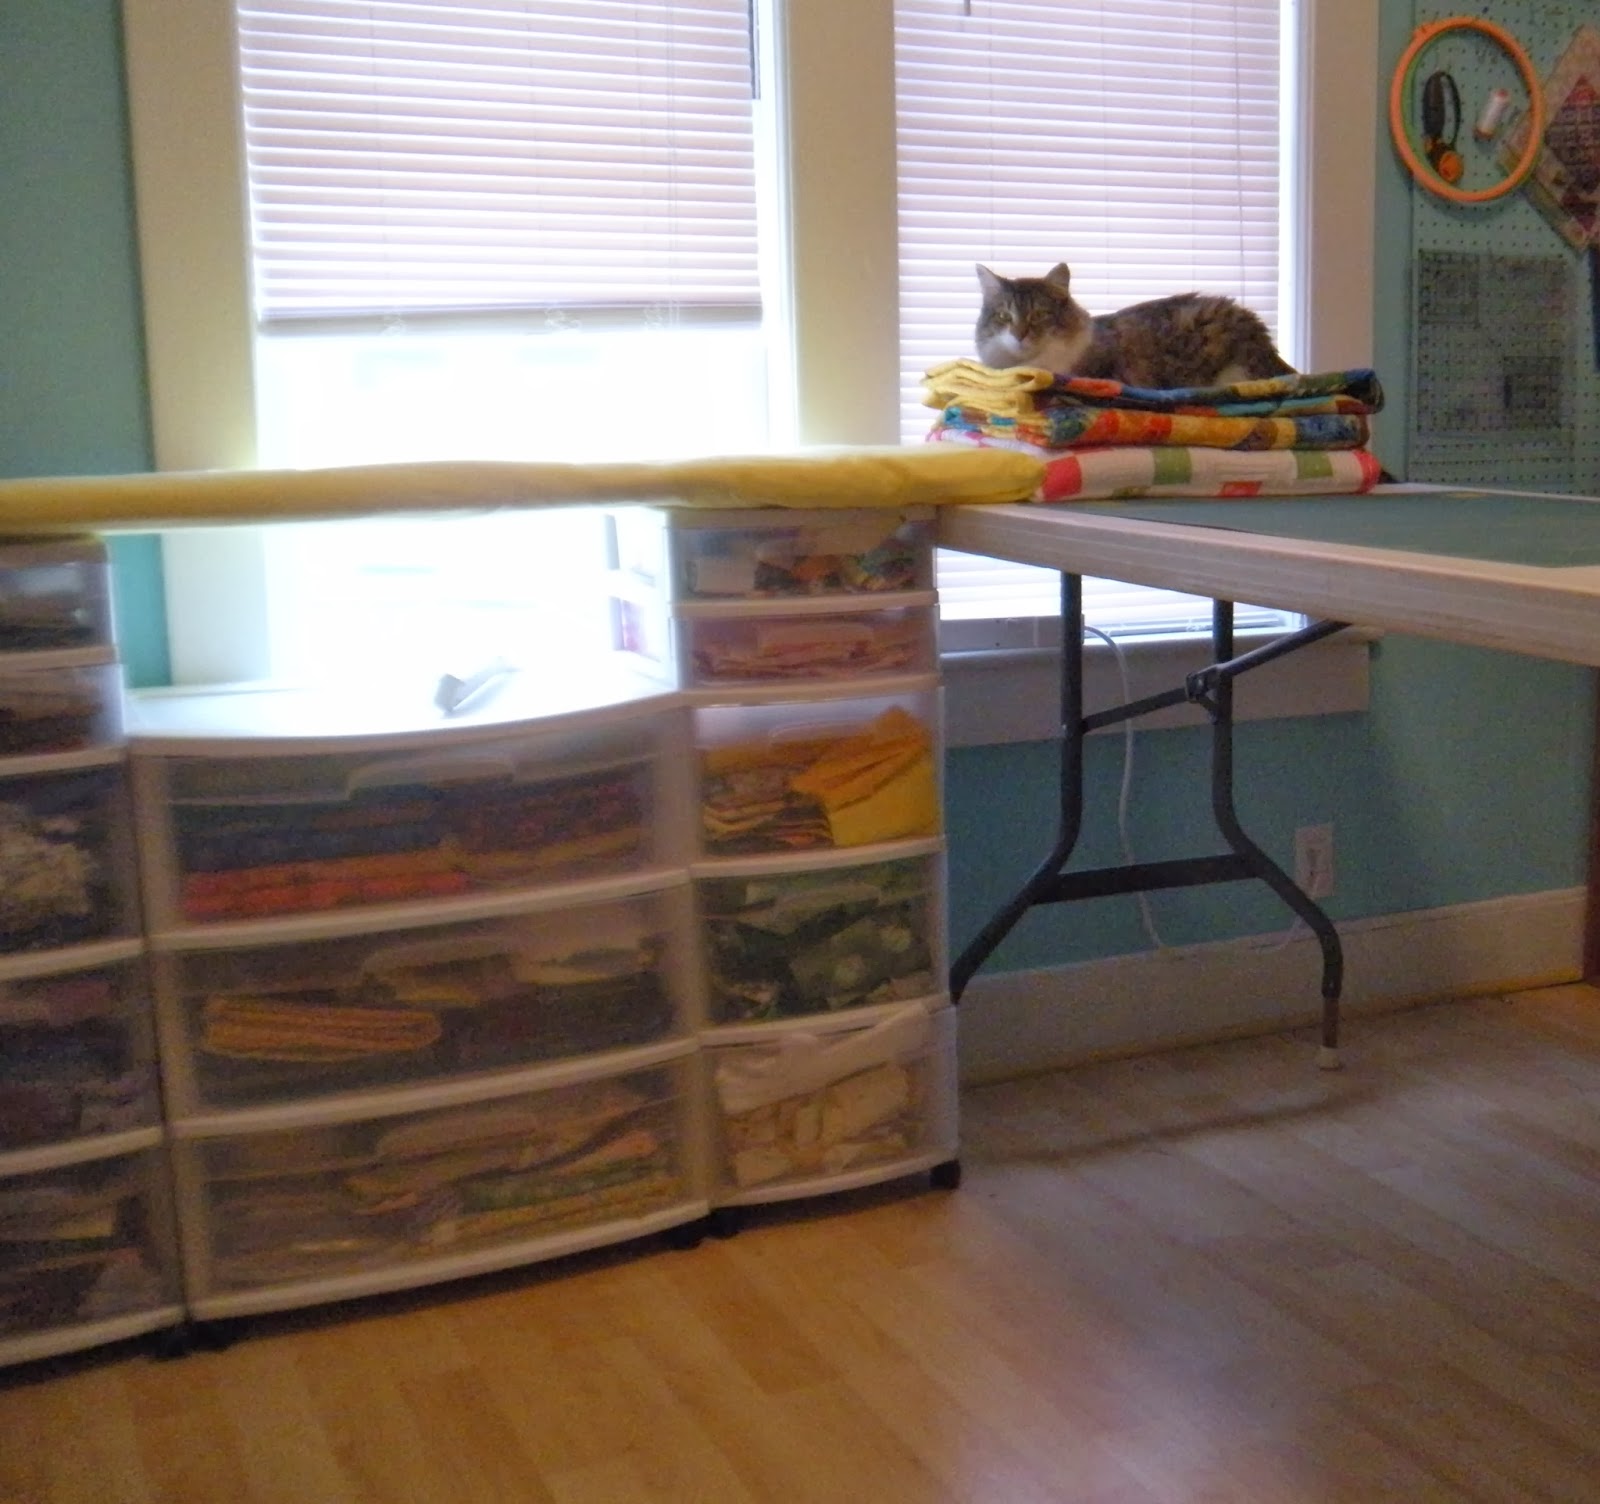
... for my custom sewing machine table that my hubby made for me. <3
My second project was to make a custom sewing table cover ...
... for my custom sewing machine table that my hubby made for me. <3
For my third project ...
with the small panel and the aqua, yellow and yellow/black florals left after I made
my custom sewing machine table cover and apron ...
my custom sewing machine table cover and apron ...

... I decided to make a Custom Sewing Machine Cover for my beautiful Janome.

My plan was derived by studying the fabrics and what I needed to cover.I used the rest of the yard of pretty blue floral tone-on-tonethat I had already quilted for the table cover. When I cut it to size for the table when I added the pockets I had a piece that was just the right size for the top of my machine cover. I even used the selvage strip from the panel to make a handle on the top for lifting off the cover.

Katniss helped me select the panels for the machine cover.

I cut the panels and bordered the sides with the pretty yellow floral tone-on-tone.

Then I quilted the panels
When I was sewing the panels into the box for the cover, it was the day that Mdm. Samm announced the "Think Ruffles" Blog Hop. So I thought, " Ruffles!"

Why, yes, I can sew ruffles!
To do this I used this
Tried and True Ruffle Method from Madame Samm

I added a strip to bind the edges.

I added this to the edge of the front top and side panels all in one live of stitching,
The edge of the ruffle is under the edge and the binding strip is folded over and I stitched through all the layers.
At this point I was pretty impressed with Lady Janome.
I did change to a new needle, a 90/14 Microtex Sharp
with Superior King Tut Quilting Cotton thread.

I sewed on the quilted side panels top side first.
Then I sewed each side from bottom to top and added a binding on the bottom in the same gorgeous black and yellow print that I used for the ruffle. Lady Janome sewed through all the quilted layers, the ruffle, the handle, and all the intersections with the walking foot without a bit of trouble or a skipped stitch.

The Butterfly stayed up until midnight again one night to help.
For my fourth (much smaller) project ...

Butterfly helped me to decide to stay up and sew what I had left of the ruffles
to add a skirt to my Ice Cream Cone Pincushion
that I made for the Pom Pom Hop.

I love Lady Janome!
Now she has a beautiful quilted cover to tuck her in at night.
I chose this photo not for the great photo quality, but because you can see the Butterfly eyes gleeming in the dark dining room waiting for me to turn tuck in my machine, turn off the lights and go snuggle under the quilts.
For my last project(s) ...

In the morning I sewed more ruffles and I added them to two sides of one of these ...

... quick and easy fabric boxes made from the tutorial HERE
from Tina @ Seaside Stitches.

I love my new ruffled thread catcher!
This little work area is much improved by this and the custom apron pockets. You can see how I had to leave an opening in the apron as I really like using the knee lifter on my Janome to raise the presser foot. My camera is usually tucked into the large pocket to keep it handy. I used to have my camera set on the edge of the table and Katniss did once try taking pictures herself and knocked it on the floor. Fortunately my camera survived. Now I have a pocket that does not fit a Katniss.
Here is another wonderful new part of my sewing space ...

I have a nice padded backrest for my sewing chair!
The sewing machine cover fits perfectly over the back of my sewing chair when I am using my machine. I have padded the upper part here with batting.
It makes a lovely cushion to rest my upper back upon!
I frequently get upper back pain between my shoulder blades from extended sewing sessions and this is so nice.
I was so comfy in my sewing chair that ...

Sorry ... no ruffles ... I am out of ruffling fabric.
I was also out of buttons so I set this box aside until I could get more ...

... and Katniss took good care of it for me while I went button shopping.
Now it has buttons ... AND ... this fabric box is ...

A Giveaway!
(This giveaway is closed.
Winner announced Here.)
This box measures 3" deep and 4.5" wide.
I will send this little fabric box anywhere in the world.
To be eligible to win, all you need to do is leave one lovely comment.
You do not need to be a follower.
Anyone who is a follower, new friend or old friend, may have one additional entry by leaving a second comment telling how you follow.
Please be sure that I have an email address to contact you
to tell you if you have won and get your address.
My blog is set to not allow anonymous comments so that the robots cannot find me.
If you do not have an ID, you can still enter by email at the address listed under "Contact Me" in my toolbar and I will post your comment for you
so you have a chance to win.
To be eligible to win you must comment on this post or email me
by Midnight EST on February 18th, 2014
I will announce and email the winner on February 19th, 2014.
Thanks you for visiting my scrapatch!
Please visit everyone participating today ...
This box measures 3" deep and 4.5" wide.
I will send this little fabric box anywhere in the world.
To be eligible to win, all you need to do is leave one lovely comment.
You do not need to be a follower.
Anyone who is a follower, new friend or old friend, may have one additional entry by leaving a second comment telling how you follow.
Please be sure that I have an email address to contact you
to tell you if you have won and get your address.
My blog is set to not allow anonymous comments so that the robots cannot find me.
If you do not have an ID, you can still enter by email at the address listed under "Contact Me" in my toolbar and I will post your comment for you
so you have a chance to win.
To be eligible to win you must comment on this post or email me
by Midnight EST on February 18th, 2014
I will announce and email the winner on February 19th, 2014.
Thanks you for visiting my scrapatch!
Please visit everyone participating today ...
Thanks to
Madame Samm @ Sew We Quilt
for this inspiring blog hop!
A big cheer to Carla @ Creatin' in the Sticks,
who organized two hops at the same time so cheerfully!
This is a fabulous blog hop!

for this inspiring blog hop!
A big cheer to Carla @ Creatin' in the Sticks,
who organized two hops at the same time so cheerfully!
This is a fabulous blog hop!
Ms Katniss promises to take good care of the fabric box until the giveaway.
My quilty kitties and I say thanks for visiting today!
happy sewing and blog hopping!
:)