"Snap Attach Pillow Back"
This is tutorial of how I make my envelope backs for my pillow covers
with decorative snap closures.

This post shows how to make an envelope pillow Back with a decorative snap closure.
I like to think of this as a two-side pillow.
When these are in use on my sofa and chairs,
I turn them frequently so they wear evenly.

In my house this pillow covered a Christmas applique toss pillow for its photos.
Then I gifted this pillow to The Girl in
My Girl bought a new 18" pillow form as she did not have an extra pillow that size.
I like to make covers for my toss pillows and change them as the seasons change
so I do not have to store them in a closet.
It also saves buying pillow forms.

Here is the tool kit you will need if you want to add snaps to your envelope back pillows.
This is a

I have had mine for several years
and it is a Babyville Boutique version bought to make things
for my grand darling when she was a baby.
I have found it has many other uses.
Only the packaging is different.
and it is a Babyville Boutique version bought to make things
for my grand darling when she was a baby.
I have found it has many other uses.
Only the packaging is different.
Other tools you will need is a ruler for measuring for snap placement
and a marking tool.

I like to use a Clover Chaco Liner
available at FQS and anywhere sewing notions are sold.
You can use a Frixon pen or your favorite temporary fabric marking tool.

Pellon Fusible Fleece
or some other low loft fusible lining
to give your pillow panels body and a smooth finish.

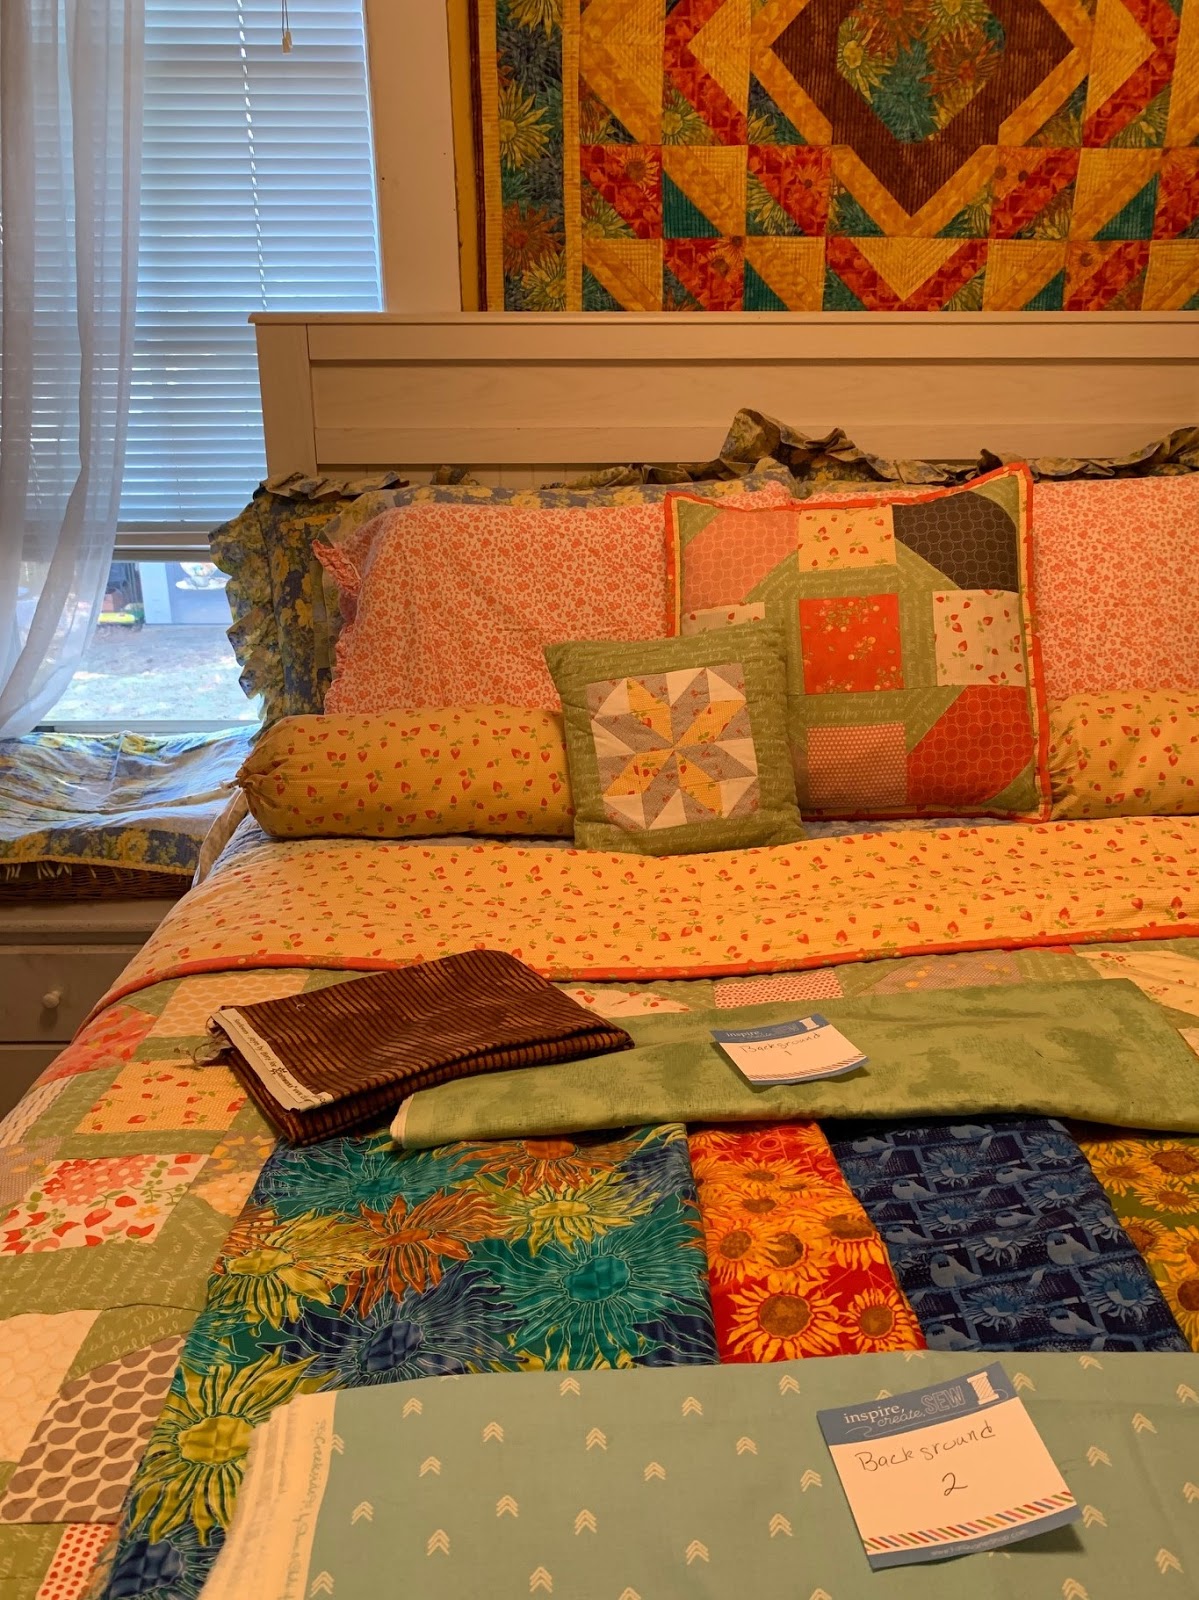
I chose two fabrics for my back to match my pillow front
and cut the large side to 18.5" by 16.5"
and the smaller side to 18.5" by 8.5"
These are cut large to fold the cut end and form an "envelope"
in which to insert your pillow form.

and cut the large side to 18.5" by 16.5"
and the smaller side to 18.5" by 8.5"
These are cut large to fold the cut end and form an "envelope"
in which to insert your pillow form.

Then I cut two pieces of the fusible fleece
to press to the back of these fabrics,
I cut the fleece smaller;
18.5" by 13.5" and 18.5" by 5.5"
so you can fold over the cut end and secure.

I aligned and pressed he fleece to the back of my two back sections with a hot dry iron
and folded the cut edge over and pressed.
The fold is not fused.


to press to the back of these fabrics,
I cut the fleece smaller;
18.5" by 13.5" and 18.5" by 5.5"
so you can fold over the cut end and secure.

I aligned and pressed he fleece to the back of my two back sections with a hot dry iron
and folded the cut edge over and pressed.
The fold is not fused.

I chose a dark grey Aurifil thread for quilting my green back piece.

I stitched the folded flap to secure.


Then I turned my back piece over and quilted straight lines
and block quilting with my walking foot.

Here is my completed small back panel.

I chose light green Superior King Tut thread to quilt the gray panel.
This was the best color match that I had in my sewing supplies.
I use King Tut 100% Cotton from Superior Threads when I quilt on my long arm
I use this and Aurifil when I quilt on my regular machine.

Here is the straight line walking foot quilting on the larger back panel.


My quilty kitty Maestro loves to help with this part of the process.
I have to be careful she does not try to eat the plastioc snaps or hurt herself with the awl.
I love my quilty kitty helpers.

I use my ruler to measure and mark .
I decided on seven snaps for this 18" pillow cover.
I found the center and marked it and then measured 2" evenly toward each end
for the placement of the snaps and marked with my chaco liner.
I use my awl top punch down the holes on the top and insert the top of the snap.

Then I add the inside snap piece and press together with the pliers one at a time.
This is a Video by Dritz of How to Use these Snap Pliers

Then I repeat the process with the smaller section of my pillow back.
I do this one snap at a time and align each snap with the awl, insert the cap and
other side of the snaps ... they come in pairs ... an "inner" and an "outer."
In the photo you can see the top will fit into the bottom and snap downward.
and block quilting with my walking foot.

Here is my completed small back panel.

I chose light green Superior King Tut thread to quilt the gray panel.
This was the best color match that I had in my sewing supplies.
I use King Tut 100% Cotton from Superior Threads when I quilt on my long arm
I use this and Aurifil when I quilt on my regular machine.

Here is the straight line walking foot quilting on the larger back panel.

Time to add the snaps.
These are the two colors I had on hand that might work.
I buy most of these plastic snaps in bulk in bags of different colors on Amazon.

My quilty kitty Maestro loves to help with this part of the process.
I have to be careful she does not try to eat the plastioc snaps or hurt herself with the awl.
I love my quilty kitty helpers.

I use my ruler to measure and mark .
I decided on seven snaps for this 18" pillow cover.
I found the center and marked it and then measured 2" evenly toward each end
for the placement of the snaps and marked with my chaco liner.
I use my awl top punch down the holes on the top and insert the top of the snap.

Then I add the inside snap piece and press together with the pliers one at a time.
This is a Video by Dritz of How to Use these Snap Pliers

Then I repeat the process with the smaller section of my pillow back.
I do this one snap at a time and align each snap with the awl, insert the cap and
other side of the snaps ... they come in pairs ... an "inner" and an "outer."
In the photo you can see the top will fit into the bottom and snap downward.

Here is my finished and snapped pillow back panel
ready to be sewn into my pillow cover.

Part 5 of this tutorial series will show
how to put these panels together
to complete the pillow cover.
Previous Tutorial links below ...
Part 1 ~ Gathering Supplies and Getting Started
Part 2 ~ The Fine Details of the Applique ~ Click Here
Part 3 ~ Quilting the Applique Block
Part 1 ~ Gathering Supplies and Getting Started
Part 2 ~ The Fine Details of the Applique ~ Click Here
Part 3 ~ Quilting the Applique Block
I hope to have my final post in this series up tomorrow.
I hope you are finding these tutorials helpful.
I hope you are finding these tutorials helpful.
May you and yours be well and safe and sheltered.