Showing posts with label Improv Quilt Blocks. Show all posts

Saturday, January 13, 2018

Something Blue


A lot of blue
scraps and such

January is medium blues month
@


2.5" strips are being sorted and used for this year's project.

I have sketched a plan for a new scrap quilt.

I need to find some grey to sew these units into blocks.


I am still slowly sewing my 1.5" scrap squares into 
these Postage Stamp blocks
that I started for the 
Not enough blocks fro a quilt yet.
This is a leaders and enders project 
and I have a basket full of pairs to sew into more blocks.


I also used up some of the smallest uneven scraps for this 
free form improv  block.

This was my 


for the day.

Linking up today with


Lots of wonderful inspiration in the links!

Hope you are having a scrappy happy day!


Friday, March 24, 2017

Improv QAL Play


Time to Play!

Block 1 :  Wonky Log Cabin


Elm Street Quilts


I am late starting but these blocks are sew fun and sew addicting
that I am already caught up with the

Improv QAL Play

happening

@
Elm Street Quilts


Block 2: Triangles


Block 3: Stack, Cut, Sew


Block 4:  Wonky Geese


Block 5:  Wonky Stars

and my favorite block to make so far:


Block 6: Crumbs
Elm Street Quilts Tutorial Here

I was literally picking little pieces of cut fabric off the floor to sew into this block.

No fabric was wasted in the making of these blocks!

Linking up today with all the other quilts being improvised @

Improv QAL Play Linky Party

Hope to see you sewing along ...

:-)

# Improv   # Play   # Sew Fun


Tuesday, March 4, 2014

Improv in the Scrapatch

 
An Idea:
 
Use these charms and background fabric and end up with a large block, about 28" by 18"
 
Cut and sew as I go.
 
 
Sewing
 

Making Progress


Pressing


The Block
 
To see where this is going, please visit again soon.
 
 
Berry Barn Designs
 
This is my 30/30 sewing of for today!
 
 
This is fun!
 
Also linking up to day with
 
 
@
:-)
 

Saturday, March 1, 2014

30/30 ~ No Rules Sewing


30/30

playing with fabric ...

rulers and a rotary cutter in my hand ...

no rules ...

just an idea or an image in my head...

no pattern ...

(well ... unless I decide to use one)

no rules here

so I can change them anytime I want

my idea of sewing fun!

Sarah @ Berry Barn Designs

has started a fun new linky party

30/30 Sewing Challenge

So I am going to play  ...


... with the fabric!

My 30 minutes today was cutting these charms into random width strips
 and sewing them together is random order.


... just keep sewing ...

:-)

Friday, August 9, 2013

Twinkle - A Modern Christmas Quilt

 
An Improv Christmas Star Block

Ho! Ho! Ho! 
Today is my day!

Thanks to Madame Santa Samm for getting us all in the holiday spirit by sponsoring this festive blog hop!
 
To find all the elves who have been busy, busy, busy
getting ready for Christmas,
visit our
Thanks, Carol!

For this blog hop I wanted to try something new. 
I saw a improv modern star block somewhere on a blog awhile back
and have been wanting to try it ever since. 

So my Twinkle Star Quilt is born!
 
 
Here are the gorgeous shimmery fabrics I am using for my new
Modern Christmas Star quilt!
 
 
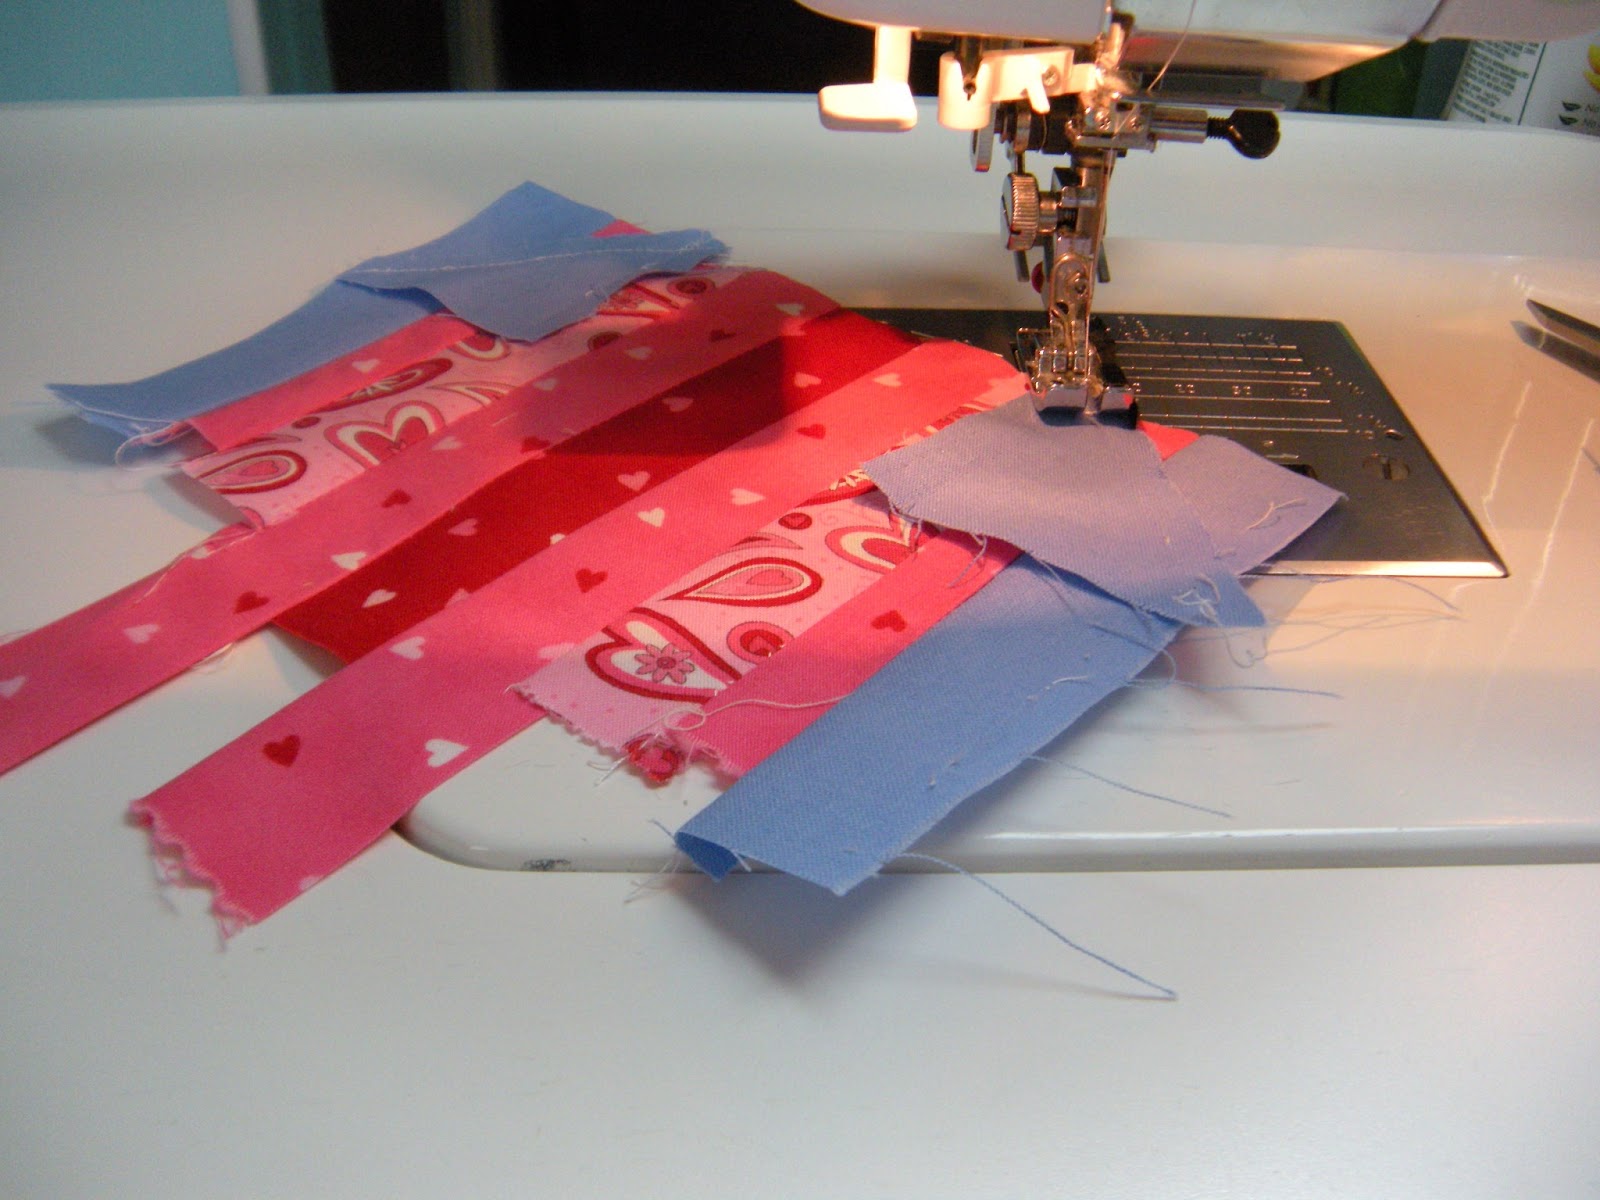
I cut the silvery background fabric in sets of rectangles in three sizes:
3" x 5" ,  4" x 6" and 5" x 7"
 
I cut the corresponding strips for the stars in three widths,
1", 1.25" and 1.5"
 
 
I used my Easy Recs Tool to cut the corners.
I did not make any effort to cut these even sizes.
The idea is that the stars points will be uneven.
 
 
I laid out each improv star.
 

I sewed on the strips for the star shape.
 
 
 I sewed the rectangles together, pressed
and trimmed into rectangular blocks. 
The blocks are not all the same size. 
I squared the block by laying a straight line across the middle seam.


Here are some of my blocks in an improv layout.
The idea is that there will be a lot of "negative space" in this quilt
with the shimmery gray background fabric.
 
 
Butterfly is being very helpful and playful in my sewing room
by keeping me company, pressing my fabric
and helping me arrange ... and rearrange ... the pieces.
 

I am having fun playing with the pieces to this puzzle, too.
I have an idea of how I want my quilt to look, but I have not drawn it out on paper or computer like I usually do. 
For this quilt, I want to keep is easy and let it fall together as it will.
 
I do wish I had a little more at this time to show you.

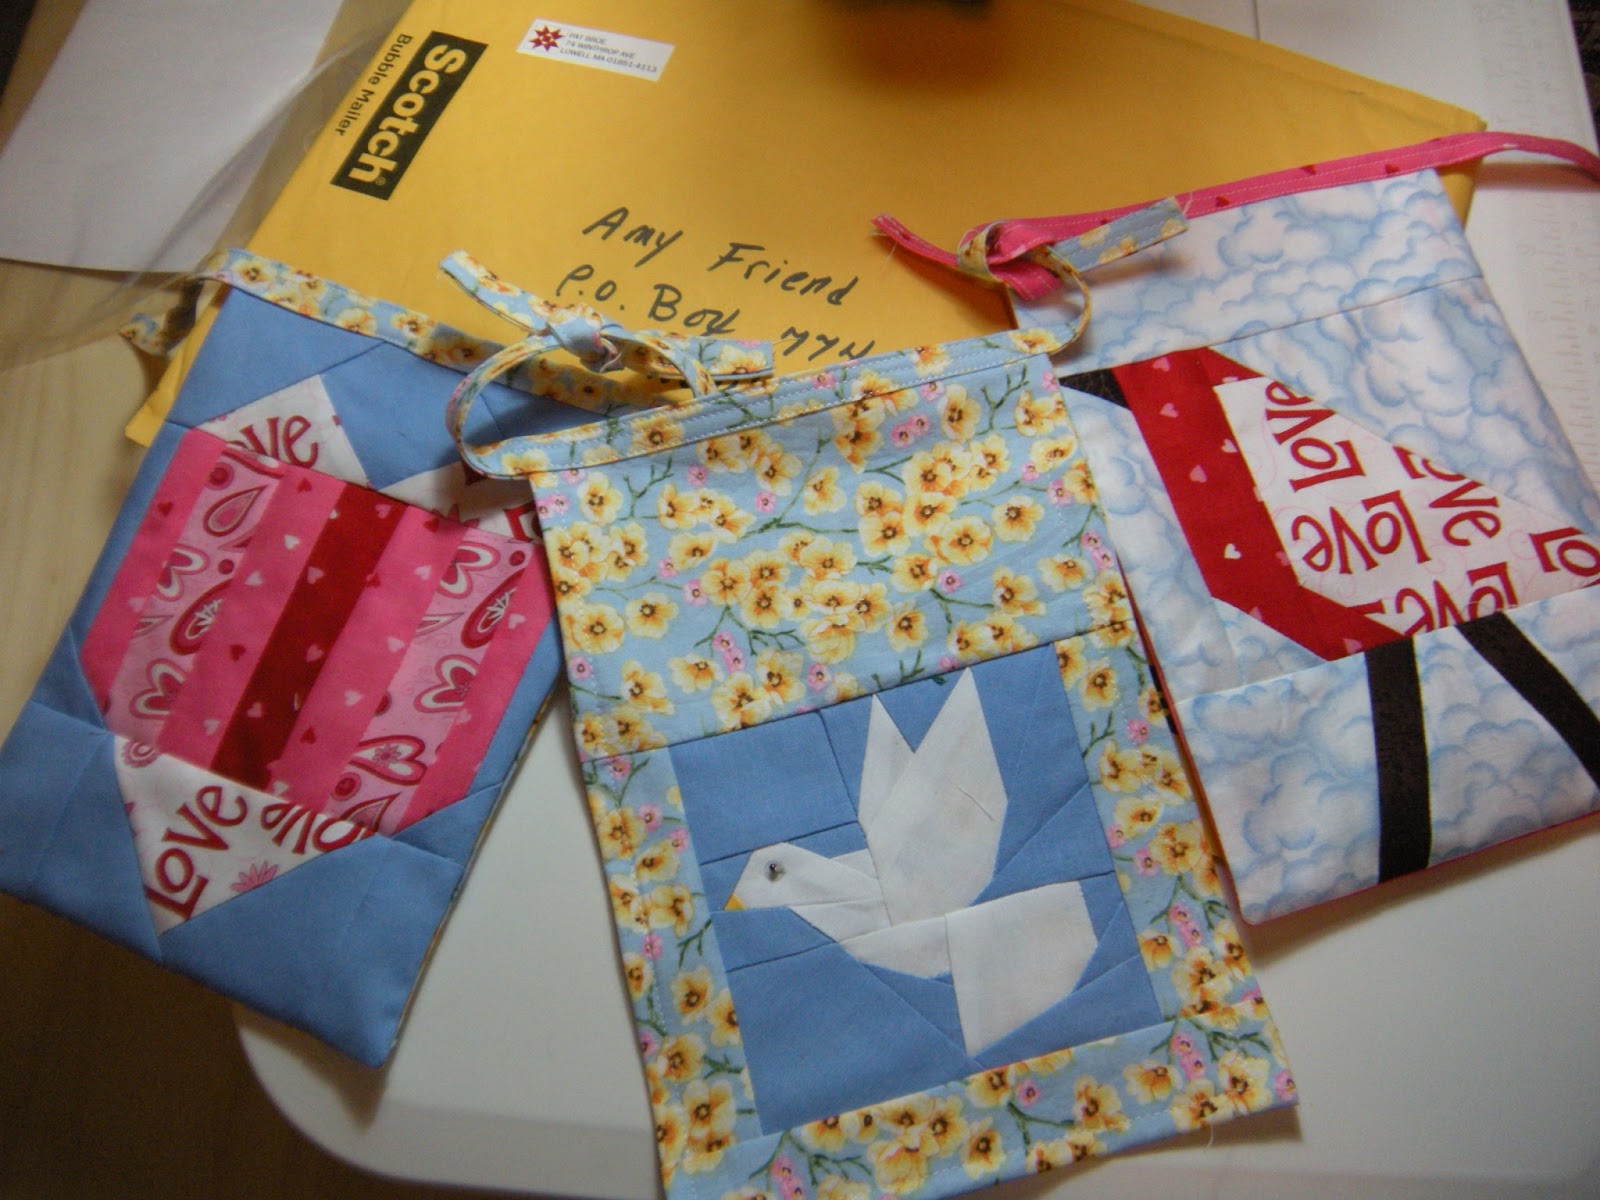
Over two weeks ago I made this "test block."

For more "how-to's" on making this block, click Here.
This quilt should have gone together quickly and easily.
 
Unfortunately, this week I have had to take time away from my sewing room for an unexpected visit to an opthamologist. 
 
As many of my friends and regular readers may know, I have had vision problems all my life and for the past few years my eyes have taken a downward turn.  Recently my vision has become much worse, much faster than anticipated.  For the last month or two, I have tried to ignore the signs while I was focused on my daughter's wedding preparations, but the time has come to face facts. 
 
My regular eye doctor has been telling me the last few years that I would someday need surgery "sooner or later."
 
"Sooner" has arrived. The first of several eye surgeries is being scheduled three months from now, the earliest that can be accommodated by the surgeons.  Afterwards during recovery, I have been forewarned that it may be slower than is usual for this procedure, due to the other problems in my eyes.  Then I will initiate the process to repeat the procedure to have the second eye operated on.  Somewhere further down the road there will be more surgeries.  These surgeries are all efforts to prolong my vision.
 
I will be taking things each day as it comes.
 
I have faith that will keep me strong and going forward.
 
Sewing is my the best therapy for me right now and I will be in my sewing room as much as possible and hope to have more to show for my efforts soon.
  ... just keep sewing ... just keep sewing ...
 
Thank you for visiting my scrapatch.
 
I hope you have enjoyed my post and all of the
 
You will not want to miss a stop on this merry sleigh ride
so please visit all my quilting friends of the day
in the links below ...
 
August 9th
 
Life in the Scrapatch (you are here!)
Sew We Quilt

Have a merry time counting down the days until Christmas!
 
Christmas countdown banner
 
Christmas will be joyous!
 
<3
 

Wednesday, May 8, 2013

Banner Flags "To Boston With Love" - Improv Heart


 My "To Boston With Love" Banner
  
This is my contribution to
 
To Boston With Love
 
announced today that this is the venue for this display is the


That is so amazing !!!
 
You may also read and see more by visiting
 
 
who is receiving and arranging the display for this wonderful event!

Amy has photos of some of the lovely flags she has made and received
on her During Quiet Time Blog
 
Thank You, Amy!
  
Here is my third flag ... 
 
 
This is an improv heart made mostly with scraps from my other flags.
 
I started with this pattern inspiration: Strippy Heart @ the VMQG
 
I gathered my scraps and sewed without a pattern.
 
 
I had some small strips between 1" to 1.5" of the pinks and reds, two solid blue strips and some triangles of the "love" fabric that I wanted to use.
 
I just had fun and played with the pieces.
 
Here are the photos of the sewing ...
 
piecing the pink scrap strips together
 

 seeing how it might work
 

adding solid blue "sky" side strips
 
The rough idea for the triangle piece for the bottom of the heart is in this photo, too.
 
I just sewed pieces that looked like they might work together and
figured from there.
 
checking for size
 
The front of the banner needs to be 6.5" wide unfinished
and 8.5" long unfinished to make the 6" X 8" finished flag.
 
adding triangle to make the heart shape corners
 
These blue triangles are actually some I had tried sewing in the top unit that did not work so I used my trusty seam ripper to remove and reuse.
 
sewing on the bottom unit
 
This is a leftover triangle which I made an upside down flying geese block and added blue side squares to make it wide enough.
 
figuring the top
 
 
This is my second idea on how to use the smaller "love" triangles
to make the top heart points.

sewing sides to the heart points
 
this is the top unit before sewing
 
pressing well before I cut it down to size
 
  my improv heart block
made from scraps
 
\
cutting down
 
 
 to the 6.5" by 8.5" unfinished block size
 
 
I am pretty happy with the way this banner flag worked up.

It took about an hour of happy time in my sewing room to make this flag. 

My little banner ready to mail.
 
To read about my Love Bird Banner flags click Here
 
Thanks to the Vancouver Modern Quilt Guild for making this happen!

Thanks to all who send

"To Boston With Love"
 
 <3