Showing posts with label Pincushions. Show all posts

Wednesday, June 10, 2020

Pincushion Parade Blog Hop ~ Day 10


Here is my Day 10 Pincushion for the
#PincushionParadeBlogHop

Today's host had a simple and easy and fun one. 


I decided it was perfect to feature a large scale print. 
This fabric is


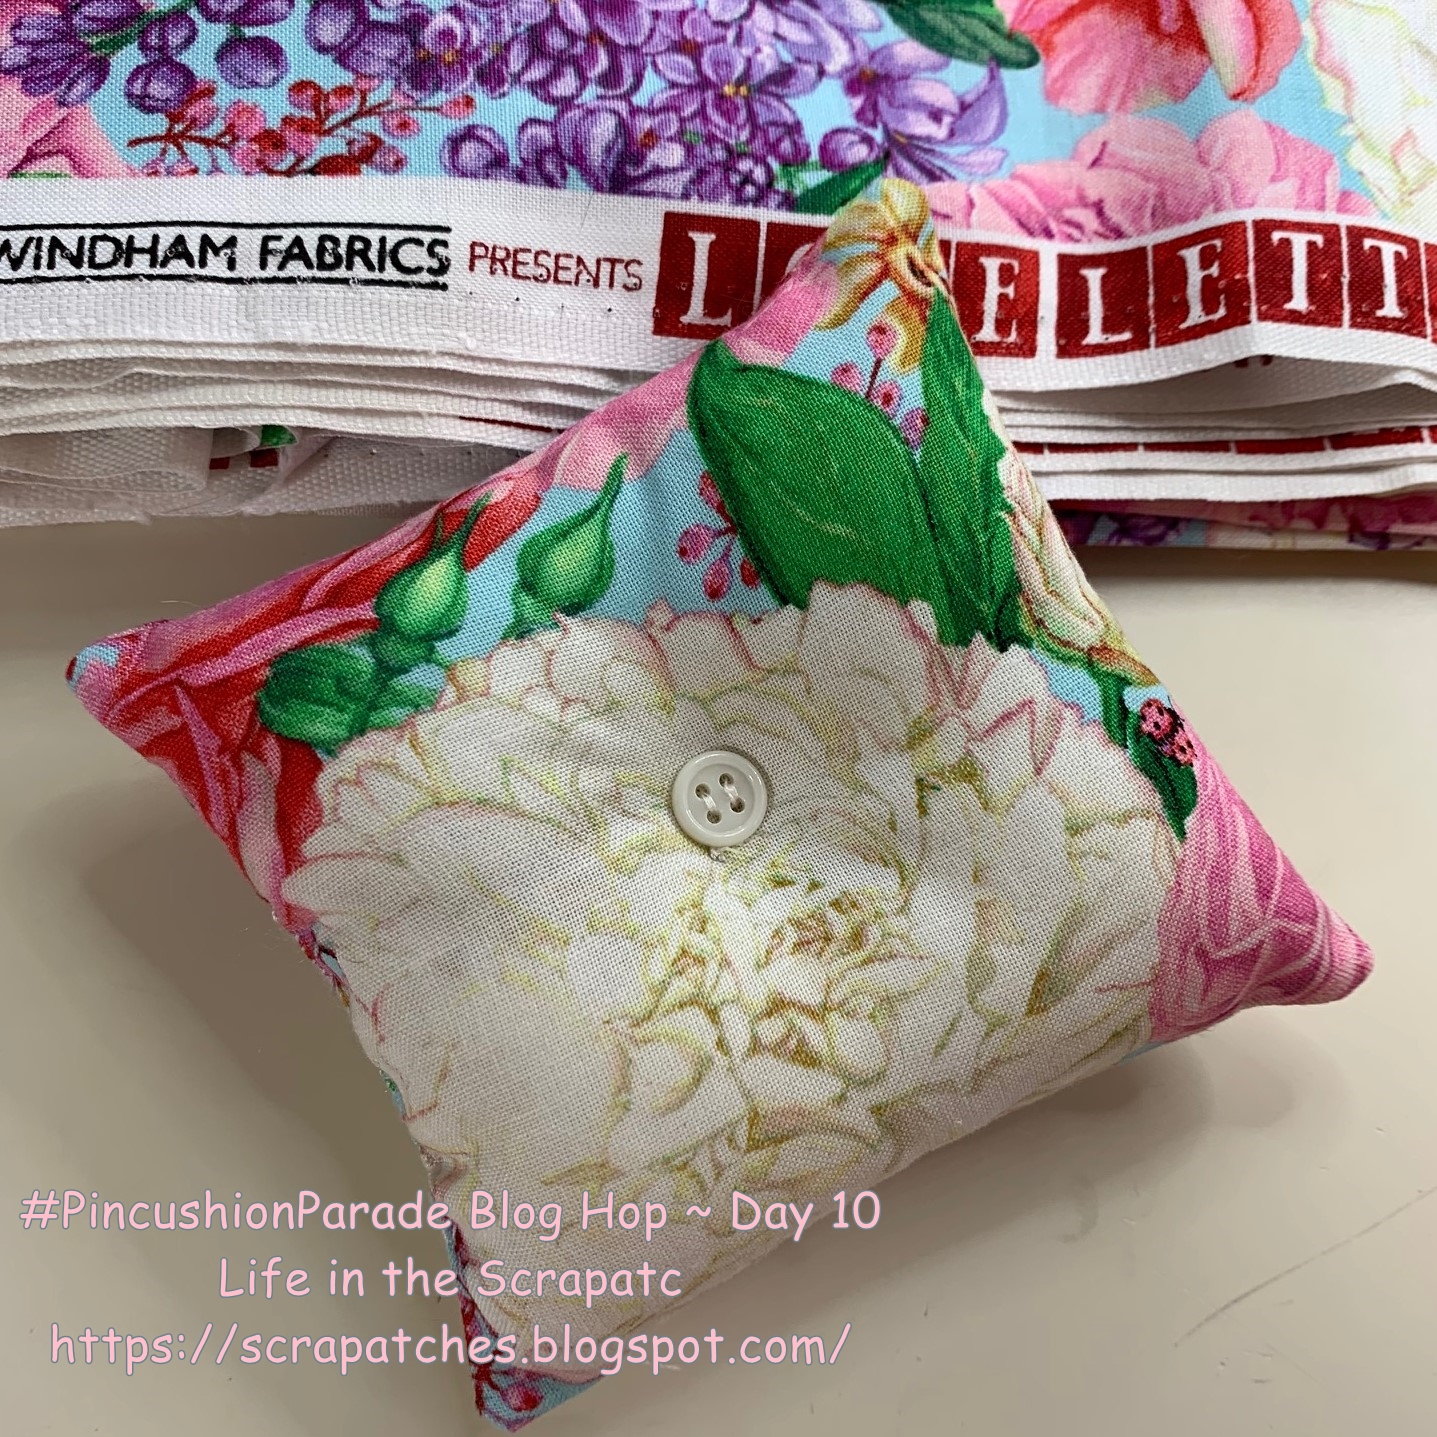
Here is my basic pincushion.
It is lovely as is,but I decided to embellish 
with handmade yo-yos and a button.


Here are my yo-yos.
I used the large white button to gather the center of the smaller one to make it round.


Here was the plan for the front.


Here is the back of my pincushion.
It is lovely just as it is with its small button to tuft it.


I am very happy with how this one worked up.

This is a fun month of sewing.

All patterns may be found at the 


I love all the pretty pincushions.

Happy Sewing ... :-) 

Sunday, June 7, 2020

Pincushion Parade ~ Day 6 ~ Chevron Pincushion


Here is my Day 6 Pincushion Parade Pincushion


I used only the scraps saved from the 


Click below for this free 


I used a piece of the border stripe and other scraps to make a pieced back
and added a wooden butterfly button.
I love these sunflower fabrics and colors.
I still have all the yardage left to make a quilt.

Linking up today with


Are you sewing along with the Pincushion Parade?

I love making these little quilty treasures.

Looking forward to tomorrow's pattern.


Thursday, June 4, 2020

Pincushion Parade ~ Day #4 ~ I Like Thursday # 58 ~ I Like Pincushions


Welcome to Day 4 of the 


My Pretty Pinwheel Pincushion was made using this ...


This may also be found ... 


I made my Pinwheel Pincushion using this cute Catalina Mini-Charm Pack
of


I love the colors and designs in this fabric collection!


The hardest part of making this cute pincushion was deciding 
which of these pretty squares to use. 


These were my choices.
12 mini chars or 2.5" squares are needed to make this pincushion.


I used my wood 4 in 1 Tool and 
my Wooden Clapper to hand press the pieces.


The sewing was easy.


Chain piecing made this quick work.


I used my wooden tool for pressing the seams.

Kathy @ Kathy's Kwilts and More
showed us how to make a basic four patch pin cushion on on Day 1.


I did press the seams open in the middle on this one to reduce the bulk.


to set the points and smooth the edges.


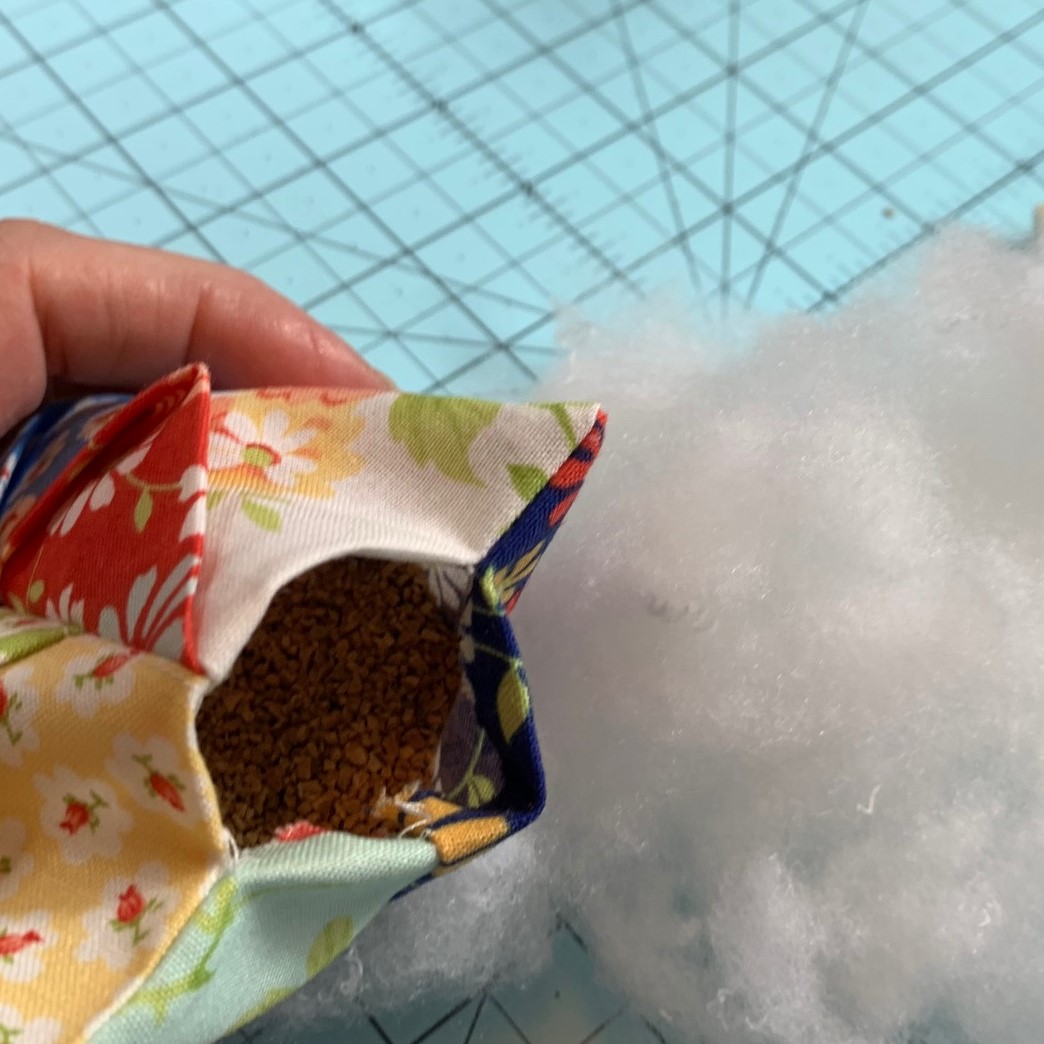
For stuffing my pincushion I like to use a combination of poly-fill
I think this gives my pincushion weight with just enough fluff.
I use 2/3 shells and 1/3 polyfil,
adding the shells first using a small funnel.


I hand sewed the opening closed and tufted the center
by putting my needle through from front to back to front again.


I used some pretty buttons I had on hand
in the center of the top pinwheel.


Then I opened a package of... 


to make my pretty pincushion useful. 

I hope you enjoyed my Pinwheel Pincushion how-to today.

Be sure to come back each day to see all the inspiration in the


Thanks to
Crystal @ Daybrook Designs
for organizing this fun blog hop

~~~~~

I am also linking up today with my

I Like Thursday Bloggers @ Not Afraid of Color
where every week we post about what has made us smile,
great and small.

We had an email discussion yesterday about how difficult it is to smile
with the state of our world as it is and did not want to marginalize.
Sometimes the small joys in life can seem trivial.
All we can do, though, even as our hearts are broken
is keep going forward one step, one day, one stitch at a time.


Last night just before sunset, we had a cloudburst.
I went outside as it let up and looked.

I knew if I looked I would find it ... a rainbow.


It was a small one and the end was lost in the storm clouds
and it faded quickly with the setting sun.

I am hopeful.

Deep in my heart, I do believe in goodness and kindness and love
... that humanity will prevail.


Wednesday, June 3, 2020

Cathedral Pincusion ~ Pincushion Parade Blog Hop


Here is my Day 2 Pincushion! 


I am sewing along with the 


This pattern may be found in the link below ... 


Here is the back of my pincushion.


I used some of my stash of Minki Kim Fabrics
for this pretty pincushion.

Today is Day 3 of the Blog Hop and today's host is 


I shall be sewing this one later today.

Tomorrow is my first day to host in the

#PincushionParadeBlogHop 


Tuesday, September 17, 2013

Pinning Away!

 
My New Pincushions!
 
Making pincushions for the ...
 
  
... was sew much fun ..


... that I made three!
 
Pincushion #1
 

Meet Clucky!
My new pincushion # 1

There are several good tutorials out there on how to make these.
Here is the link that I started with ...

This tutorial is from
who is one of our blog hop participants,
There are a lot of great Tutorials on her blog!
Thanks, Deonn!

Deonn's tutorial first appeared on
as part of the "Wanna  Be A Quilter" campaign posts!
 
I wanted to make a scrappy fall colored chicken.


So I pulled out my basket of fall colored fabric scraps and sewed small squares and rectangles and strips together.


Then I cut and squared to size, 3.5" square
and followed the tutorial.

 
I added some embroidery stitching for detail.
 
 
Here is Clucky from the back.
I did not have real chicken feathers like Vickie so I had to settle for fluffy yarn ones for the "tail feathers" and "comb"
and I used tiny glass beads for eyes.

Then ...
 

Clucky looked lonely all by herself in my scrapatch,
so I made ...


Sunny!
Pincushion # 2
 
 
Sunny, the Sunflower Girl, was made by cutting a circle.
 
 
 Sewing around the edge
 
 
and gathering and stuffing with poly fiber.
 
 
Then I painted a face on a wooden bead,
added curly doll hair and bead and ribbon accessories
and a little straw hat I found in some old craft supplies. 
I used a glue gun to glue on the hair, the hat and then to attach the head to the pincushion.


This is my sunflower girl from the back.
 
I love the fabric that I used in the doll pincushion dress
so I decided to make one more ...


A Sunflower!
Pincushion # 3
 
 
For the top of my safety pin jar
 
This one was made to attach to the top of the wide mouth canning jar that I use for my quilt basting safety pins. 


I like the wide mouth jar because I can reach inside easily.  Sometimes when I am removing, smoothing and repining the quilt sandwich I am looking for a place to stick the open safety pins so I decided that a pincushion of the top of my pin jar was just the thing I needed.
 
 
The smallest petals were made with this Clover petal maker.
The shape reminded me of a hexie.
So ... 
 
 
Once I understood the method,
I cut larger hexagons to make larger petals.
 

The petals are made by sewing
 
 
and gathering.

 
This pincushion jar topper will be very useful!

The quilt top in the back is my new hand project. 
I made this  Fall Schnibble Quilt last August and put it aside
while I was deciding how I wanted to quilt it. 
I am embroidering free style leaves in the squares.
 
There are so many lovely new pincushion creations,
 
Be sure to visit all the wonderful pin cushions today!
 
September 17th
 
Life in the Scrapatch (you are here!)
 
 
and to
 
 
for this wonderful blog hop!

Still reading?

Time for a Giveaway!
 
 
I have been very lucky again in winning some of the blog hop goodies,
so I want to spread the love by giving away this
Kanzashi Flower Maker by Clover
and a pack of 24 Bold Solid Charms from Connecting Threads
so that one of my readers may enjoy making flowers, too!
 
To win this giveaway you do not need to be a follower, 
just leave one lovely comment.  If you have a favorite of the three pincushions that I made, I would love to know which one.
 
For a second chance to win, please be a follower and leave a second comment saying that you do.
 
I will send an email to notify the winner so please be sure I have a way to contact you.
 
If you cannot leave a comment, you may also enter by sending me an email directly and will enter your comment for you.  My email address may be found under "Contact Me" in my header bar.
 
I will send this giveaway anywhere in the world.
 
This giveaway will close at Midnight EDT on Thursday, September 18th.
 
The winner will be announced on Friday, September 19th.
 
Good luck!
 

I hope you have enjoyed my little contribution
to the pincushion world!

Thanks for visiting my Scrapatch!
 
~ <3 ~