Boston Roads Block
and original block
block size 12.5" by 16.5"
This block will be sent to
@
I like the look of this block a lot and am thinking I am going to make a quilt someday with this idea. The trick would be to make the long "curb" lines connect. I have a good idea how I would do this, but it is going to have to take a place in line in "the quilty queue."
How I made this block:
How I made this block:
I gathered my blue, yellow, gray scraps and strips
and cut 2.5" x 4.5" bricks
laid them out and made a plan
I sewed the roes together left to right
I like to leave the thread between the rows uncut
to keep the pieced in the right places
the block laid out with the rows attached
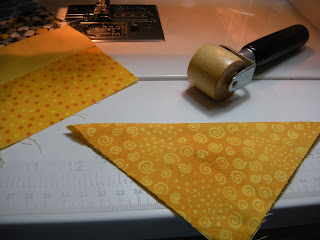
I used my seam roller to press the s eams in opposite directions
to nest the seams
I do not use pins; I align by touch.
I give the block a good pressing with Best Press.
I added the yellow corner as for a snowball block.
I fold the square in half and use my seam roller to show the center line.
I stitch just to the outside of the line.
fold over and press with the seam roller.
ooops!
At this point I realized that I did not have enough rows for my block to finish to 12.5" on the bottom edge.
...
So back to the planning board, I laid out another row on the left.
adding the row
the right size
adding the blue corner
I like to run a second line of stitches a half inch to the outside of the stitching line and cut the middle to form a HST with the corner pieces
for my scrap drawer full of HSTs. I use these as needed for blocks.
two corners done
adding the 1.25" strip for the curb
cutting the corner triangles
adding the gray corner
I used the lines on my mat to get the same angle
and my ruler to measure the distance to the opposite corner
the corners are not the same size as the one on the right is longer
but the corner angles are aligned.
trimming
squaring to 12.5 by 16.5"
The Boston Roads Block
I made this block in memory of Sean.
Tomorrow I am off to the post office to mail my blocks
to the
for
~ <3 ~


No comments:
Post a Comment