
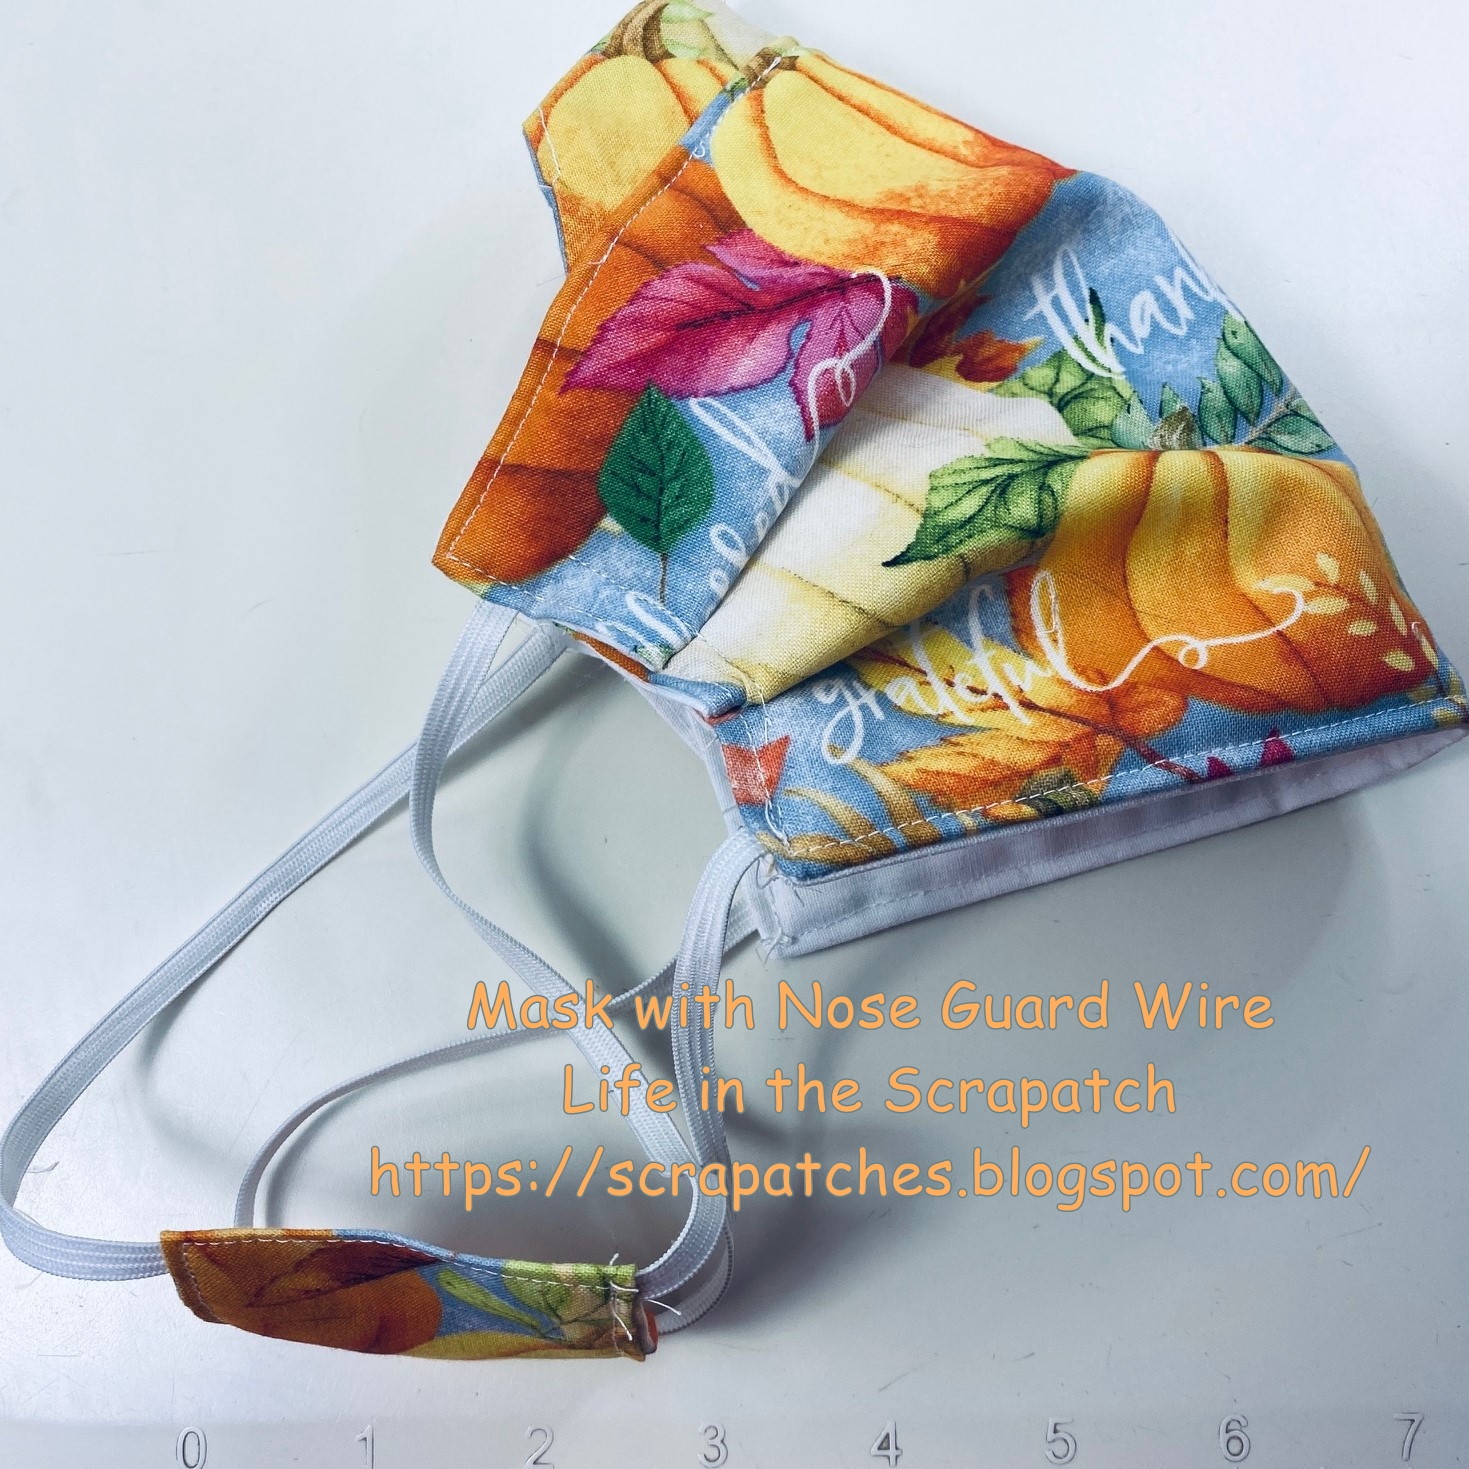
This is my prototype for a Mask with a Wired Nose Guard.
I designed this as I sewed and made adjustments along the way.


and folded and pressed in the edges
and inserted the elastics in the side openings
and top-stitched around the back tab.

I used a needle nose plier to turn in the cut edges and the wire
and I pressed the 5" square in half.

I folded the triangle right sides together and sewed a partial seam,
starting at one corner and ending and back stitching
so I could make a pocket for the wire.

Then I inserted the nose wire with the curve towards the top point
and the ends toward the long fold.


to the top center front of the mask,
taking care not to catch the wire inside with my stitches.
Then I inserted the elastic in the sides and top stitched all around.
closing the ends and securing the elastic.

the triangle nose guard on the back of the front fabric
and I placed this on top of the antimicrobial back fabric, front sides together,
and made a tube by sewing the top and bottom seams.

Then I turned the tube right side out and pressed only the open ends in,
being careful not to apply the hot iron to the middle as the heat will melt the
polypropylene filter fabric.
I pressed the triangle for the nose guard upward before I sewed.

in the middle to keep the nose wire in place.

This is the front of my mask before I added the pleats.

Then I added the side pleats to shape the mask.
It is very breathable and comfortable to wear.
It can be pulled down around the neck and worn as a accent scarf
when not in use.
I like to put it on before I go out and wear in down in the car or when I am alone in the back yard and pull it up when I am with others.
Wearing a mask has become second nature to me,
an essential garment and pretty to wear.
I hope you find this tutorial helpful.
1 comment:
Who would have thought that after all these months we would still be making masks? My family just asked for more. Thanks for the tutorial. I hadn't thought about making them this way. I like the idea of being able to drop them easily when they aren't needed.
Post a Comment